A DIY car wrap can work well on the right car, but only if you treat it like a controlled detailing job rather than a quick styling upgrade. The difference between a clean finish and a frustrating redo is usually preparation: paint condition, temperature, panel choice and how carefully you finish the edges. In this guide, I walk through the tools, the setup, the application method, the heat stage and the small mistakes that ruin first attempts.
The safest approach is a warm, clean workspace, a quality cast film and a small first project
- Start small with a roof, bonnet or mirror caps before attempting a full colour change.
- Use cast vinyl with air-release channels if you want the film to behave on curves.
- Work indoors at roughly 16-25C with low dust and good lighting.
- Expect prep to take longer than the actual application on your first attempt.
- Post-heat stretched areas to 95-100C so the film stays put.
- Leave the wrap alone for 72 hours before the first wash.
What I would budget and which jobs make sense first
Before I touch a panel, I decide whether the job is realistic. A full wrap is not just a bigger version of a bonnet or mirror job; it demands more film, more patience and a lot more control on curves. On a typical family car, I would expect around 250 square feet of film in total, which is roughly 23 square metres, and that is before waste, mistakes and test cuts.
For a first project, I want premium cast vinyl with air-release channels. Air-release channels are tiny paths in the adhesive that let trapped air escape as you squeegee the film down. Calendered vinyl is cheaper, but it is less forgiving on curves and deep recesses, so I would keep it for flat panels and simple graphics.
| Project | Difficulty | Typical film spend | My view |
|---|---|---|---|
| Roof or bonnet | Low | £60-£180 | Best place to learn panel control |
| Mirror caps or spoiler | Low | £30-£100 | Cheap practice with curves |
| One door or quarter panel | Medium | £80-£250 | Good stepping stone if you are patient |
| Full car colour change | High | £250-£700+ | Doable, but only after you can finish small panels cleanly |
Tools usually add another £80-£250 if you do not already own a heat gun, sharp blades, magnets, a proper squeegee and decent microfibres. That still keeps a home job well below a professional wrap, which often lands in the low-thousands in the UK, but the saving comes from your labour, not from cutting corners on material. Once you have a sensible scope in mind, the next win is making the surface worth wrapping.
Prepare the paint, the room and the tools before you unroll anything
I would not start this job in a cold, damp garage. The car, the film and the room should all be close to the same temperature, and for most wrap films I want roughly 16-25C. Below 10C, adhesion and handling suffer; above 30C, repositioning becomes noticeably harder and the film can grab before you are ready.
Preparation is where most DIY wraps are won or lost:
- Wash the car thoroughly with car shampoo.
- Clay the paint if it feels rough, then dry it fully.
- Remove wax, polish and grease from every wrap panel.
- Clean seams, badges, fuel flap edges and trim lines carefully.
- Inspect for chips, peeling clear coat, rust and failed repairs before you begin.
- If a panel has been repainted, make sure it has cured properly before wrapping it.
- Remove badges, number plates or loose trim if it will make the job cleaner.
I also keep the right kit within reach rather than hunting for it halfway through a panel. My basic list is simple: cast wrap film, felt-edge squeegee, a sharp 30-degree blade, heat gun, measuring tape, masking tape or magnets, lint-free microfibres, nitrile gloves and a wrap-safe cleaner for the paint. I use a cleaner on the bodywork, but I avoid aggressive solvent directly on the finished film unless the product specifically allows it.
Fresh paint needs extra respect. Air-dried repair paint can need at least a week before film goes on, and even then I would rather check the panel twice than trust a guess. With the car and room ready, the actual application becomes much more predictable.
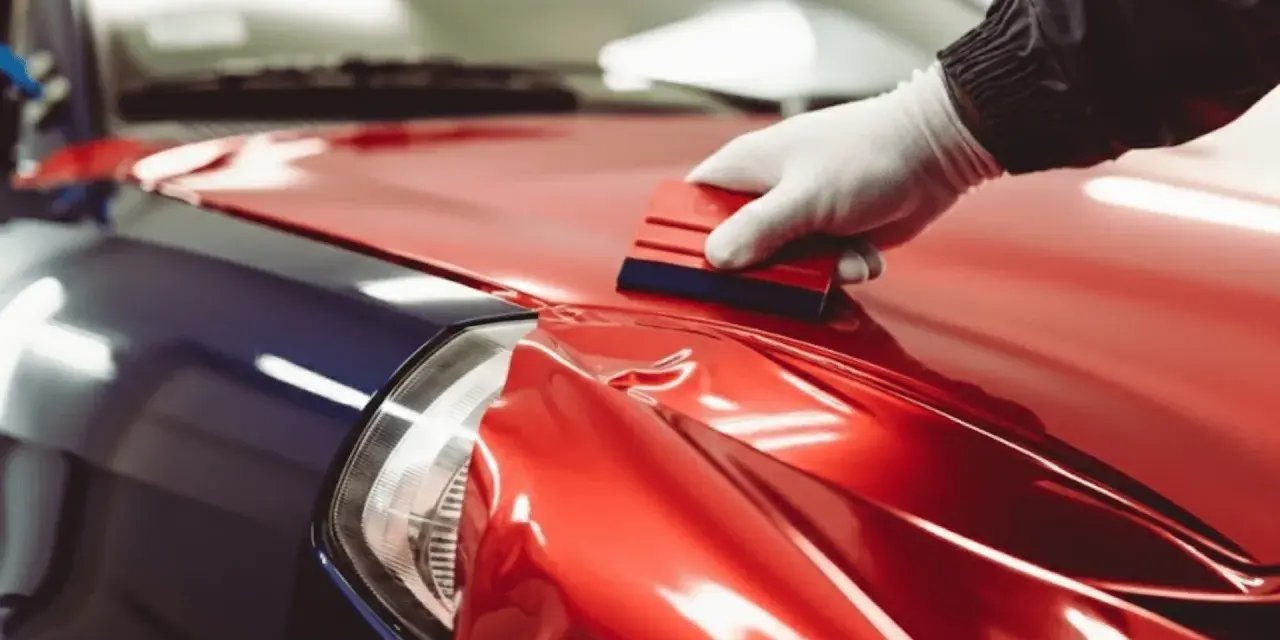
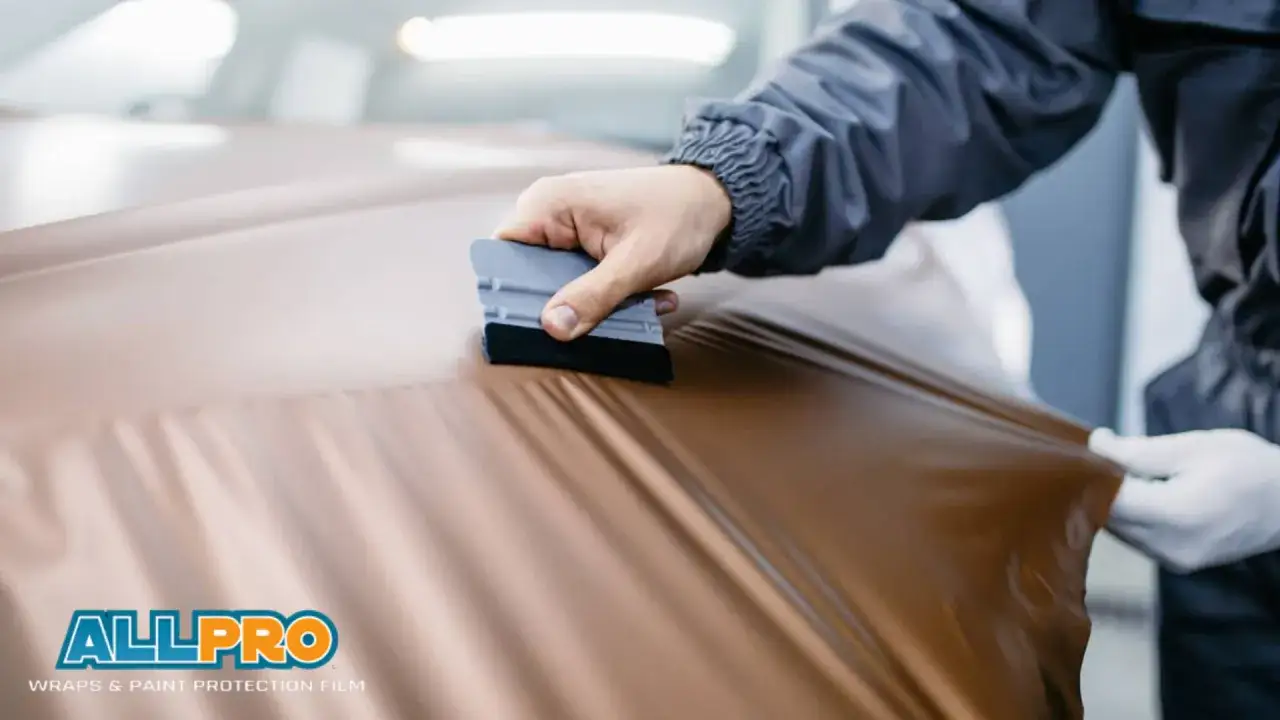
Apply the film one panel at a time without chasing bubbles
The way I think about vinyl is simple: pressure-sensitive adhesive needs even pressure, not panic. If you press the film down methodically, it bonds where it should; if you rush, you trap air, stretch the film in the wrong place and create problems that get worse as you go.
- Cut the panel oversize so you have room to align it and trim cleanly later.
- Position the film loosely and check the grain, shine or directional finish before you commit.
- Use magnets or masking tape to hold the panel in place, then make a centre hinge if the piece is large.
- Peel the liner back gradually, not all at once.
- Lay the film down from the centre outward with overlapping squeegee strokes.
- Keep the tension light. If the vinyl starts to thin out or show stretch marks, stop and reset.
- Warm only when needed, and only enough to relax the film around curves.
- Leave deep recesses and tricky corners until last, when the main face is already anchored.
If a small bubble appears, I deal with it before post-heating. A proper air-release film will let a lot of that air escape through the adhesive, but a stubborn pocket still needs attention with an air-release tool or a fine pin before heat locks everything in place. On metallic or colour-shift finishes, I also keep the panel orientation consistent, because the same film can look slightly different from one direction to the next. Once the panel sits properly, the finish is won or lost in the trim and heat stage.
Trim and post-heat the areas you stretched
This is the part many beginners underestimate. Vinyl can look fine when it is first laid down and still fail later because the stretched areas were never properly locked in. I wait 30-45 minutes after application before post-heating, then I bring the worked sections to 95-100C with a heat gun and an infrared thermometer. That resets the film memory, which is the vinyl's tendency to try to return to its original shape.
My finishing rules are strict:
- Trim with a sharp blade and keep the cut controlled.
- Cut at panel joins instead of trying to bridge them.
- Do not wrap over rubber or plastic mouldings unless the film and the shape really allow it.
- Post-heat every area that has been stretched, not just the obvious corners.
- If you are overlapping panels, post-heat the first one before adding the next.
- Re-squeegee the area once it cools so the edge is fully seated.
For deep corrugations or very tight recesses, I would rather make a controlled relief cut than force the film to do something it will not hold. That may feel less ambitious, but it is usually the difference between a wrap that lasts and one that starts lifting at the first car wash. The finishing stage is also where first-timers make the most avoidable mistakes, so it is worth being honest about them.
The mistakes that waste the most film
The biggest failures are rarely dramatic. They are usually small, repeated shortcuts that stack up. I see the same problems over and over: dirty panels, cold garages, blunt blades, too much stretch, skipped post-heating and aggressive cleaning after the job is finished.
- Starting on paint that still has wax, polish or road film on it.
- Trying to do a full wrap in a cold, wet or dusty workspace.
- Stretching one sheet too far across a curve and distorting the finish.
- Using a blunt blade that tears the film or scratches the paint.
- Skipping post-heat on corners, recesses and overlap areas.
- Washing the car too soon after installation.
- Using brushes, scouring pads or harsh solvent on the finished wrap.
- Wrapping over peeling clear coat, poor repairs or rust and hoping the film will hide it.
The last one is the quiet killer. A wrap can improve the look of decent paint, but it cannot rescue a surface that is already failing. If the paint is weak, the wrap may come off taking part of the finish with it. Once you have avoided those traps, the only job left is keeping the wrap looking good.
Wash it like a finish, not like bare paint
The first 72 hours matter most. I do not wash the car in that window, and I would avoid strong chemicals or aggressive rubbing during that time. After that, I hand wash with a mild, pH-balanced shampoo, rinse thoroughly and dry with a soft microfiber towel. I also stay in the pH 5-9 range and avoid detergents with wax, ammonia, alcohol or petroleum distillates.
My maintenance routine is straightforward:
- Wipe off fuel spills, bird droppings, tree sap and road tar as soon as possible.
- Use the two-bucket method so grit does not get dragged back across the film.
- Rinse before washing so loose dirt does not scratch the surface.
- Use a soft mitt or sponge, not a brush.
- Choose a touchless wash if you must use a machine wash.
- Store the car under cover or in shade whenever you can.
- Test any spot cleaner on a hidden area first.
Matte and satin films need a lighter touch than gloss because the wrong product can change the appearance. I keep cleaning simple and controlled rather than trying to make the wrap look "better" with the same products I would use on painted panels. That care routine is simple, but it only pays off if you choose the right first project.
The first wrap I would actually attempt at home
If I were doing this on my own car for the first time, I would start with a roof, bonnet or mirror caps. Those panels teach you alignment, tension control and edge finishing without forcing you into the hardest part of the job straight away. I would also pick a simple cast gloss or satin film in a solid colour, not chrome, not colour-shift and not a complicated textured finish.
- Start with a simple, high-visibility panel that has clean edges.
- Keep enough extra film on hand so one mistake does not end the project.
- Stay indoors at a steady temperature and do not rush the post-heat stage.
- If the wrap changes the car's recorded colour, update the V5C details as well.
- Leave deep bumpers, fresh paint and complex body kits for a later project or a specialist.
A home wrap is absolutely doable, but only when the car, the room and the film are all working with you. Start small, keep the surface immaculate, respect heat and do not force the material into shapes it does not want to hold. That is the difference between a result that looks deliberate and one that looks like a weekend experiment.