A clean, glossy finish comes from controlled abrasion, not brute force. Knowing how to buff paint properly is mostly about removing just enough material to improve the surface without creating heat, haze, or fresh swirl marks. In this guide I’ll walk through the prep, the safest tools, the actual technique, and the point where you should stop and choose a different fix.
The quickest route to a smoother, glossier finish
- Buffing improves gloss by refining the clear coat, but it cannot repair damage that has gone through the paint.
- Wash, decontaminate, and inspect first; polishing dirty paint wastes time and adds risk.
- A dual-action polisher is the safest machine choice for most owners, while hand work is better for light defects and small areas.
- Always finish with wax, sealant, or a ceramic spray so the result lasts beyond the first wash.
- If the panel is matte, satin, or freshly painted, the rules change and you should be much more conservative.
What buffing actually changes on paintwork
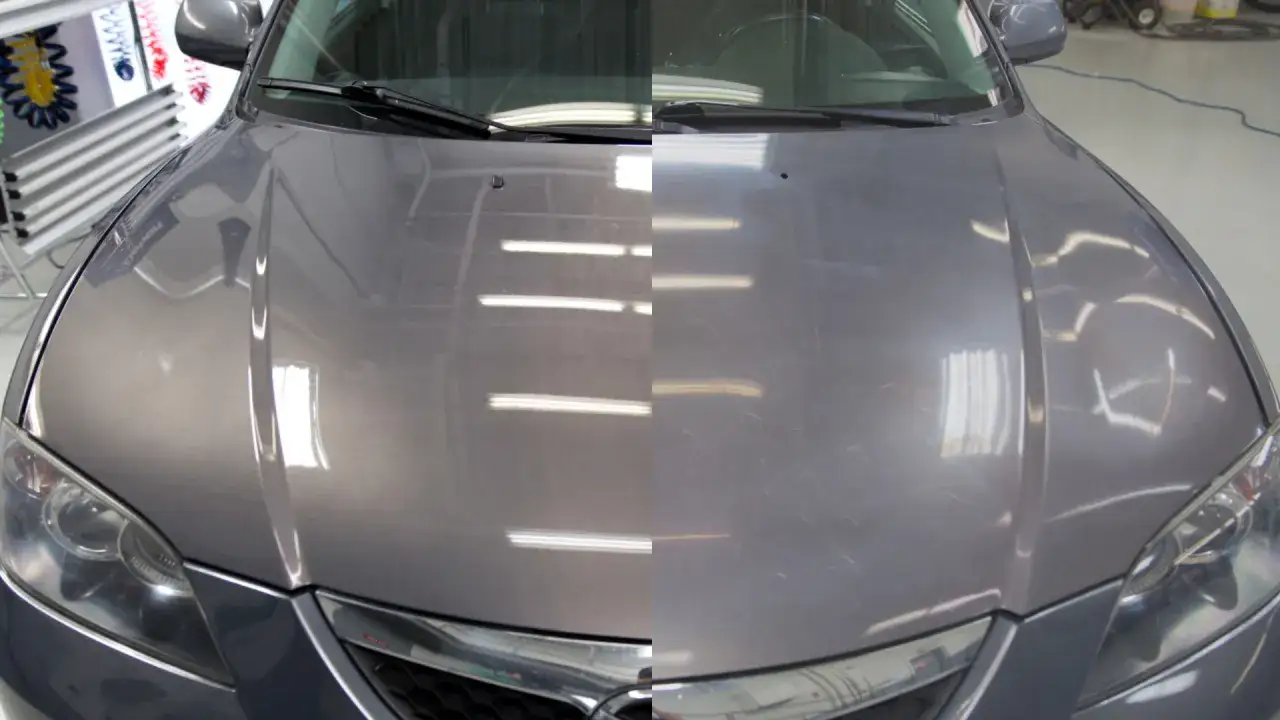
On modern cars, the glossy look comes from the clear coat reflecting light evenly. Swirls, light scratches, oxidation, and water-spot etching scatter that light, which makes the surface look dull even when the car is clean. Buffing works by levelling the top layer of that clear coat just enough to reduce those microscopic defects.
I separate the process into three levels: compound for heavier correction, polish for refining the finish, and finishing polish for removing the last trace of haze on softer paints. That distinction matters because too much cut is where beginners usually go wrong. If the defect is too deep to feel or see the depth of the clear coat, buffing will improve the panel, but it will not make damage disappear.
- Compound removes more material and is better for heavier swirls or oxidation.
- Polish cuts less and is usually the step that restores clarity and gloss.
- Finishing polish is for the last bit of refinement on harder paints or after compounding.
Two surfaces need special caution: matte or satin finishes, which are not meant to be polished in the normal sense, and older single-stage paint, which can behave very differently from modern clear-coat systems. Before you touch a machine, the surface needs to be clean enough to correct rather than grind dirt into the finish.
Start with the surface, not the polisher
The best correction jobs are won in the prep stage. I start with a proper wash, then remove bonded contamination so the pad is working on paint, not tar, road film, or iron fallout. In the UK, that extra prep matters because road grime, brake dust, and winter salt can cling to paint longer than people expect.
A practical starter kit does not need to be expensive, but it does need to be sensible. I would rather see a clean wash, decent lighting, and one good pad than a pile of random products.
| Item | Why it matters | Typical UK price range |
|---|---|---|
| pH-neutral car shampoo | Helps clean without stripping every layer of protection at once | £8-£18 |
| Microfibre wash mitt and drying towels | Reduces the chance of dragging grit across the paint | £10-£25 |
| Iron remover or clay bar | Removes bonded contamination that washing leaves behind | £10-£25 |
| Masking tape | Protects badges, sharp edges, plastic trim, and panel gaps | £5-£10 |
| Dual-action polisher | Safer correction for most DIY detailers | £80-£250 |
| Polishing pads and compound | Different levels of cut and finishing ability | £5-£20 per pad, £10-£30 per product |
| Panel wipe | Removes oils so you can inspect the true finish before protection | £10-£20 |
My rule is simple: wash, decontaminate, dry, inspect under strong light, then tape the delicate areas. A test spot on one panel tells you more than an hour of guesswork on the whole car. Once the paint is clean and masked, the actual correction becomes much more predictable.
How to buff with a dual-action polisher
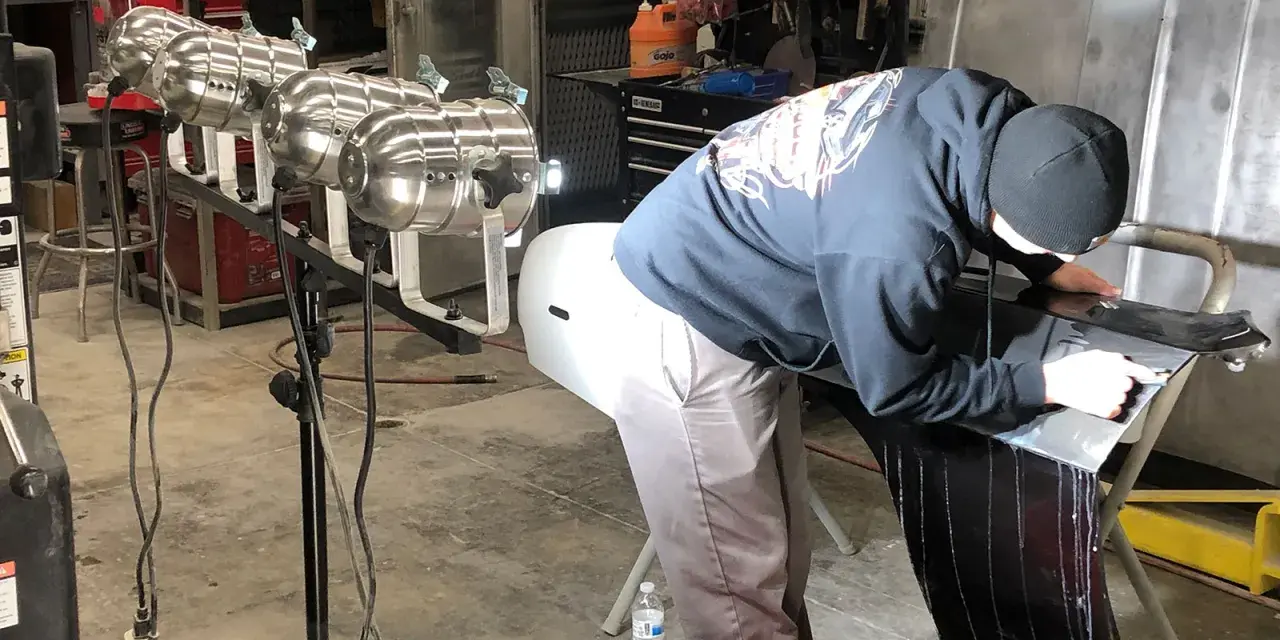
This is the method I recommend for most home detailers because it gives real correction without the same risk profile as a rotary machine. The key is to work slowly, keep the pad flat, and let the machine and product do the work rather than your arms.
- Prime the pad with the product instructions in mind. Most compounds and polishes need only a few pea-sized drops, not a thick layer.
- Spread the product at low speed over a small area, roughly 40 x 40 cm. I prefer to start smaller if the panel has sharp curves or a lot of trim.
- Increase to a working speed only after the product is spread evenly. On many dual-action machines, that means roughly speed 3 to spread and 4 to 5 for correction, but the label and the machine design always come first.
- Use slow, overlapping passes in a cross-hatch pattern. The movement should be steady, not frantic, and the pad should stay flat on the paint.
- Apply only moderate pressure. If the machine is bogging down or the pad is leaving obvious trails, I back off and reassess rather than pushing harder.
- Wipe the residue with a clean microfibre towel and inspect the panel under strong light.
- Clean the pad regularly. A loaded pad stops cutting properly and starts smearing spent product back into the finish.
A good test spot tells you whether you need a heavier compound, a softer pad, or just a finer polish. If one pass removes most of the defect but leaves a faint haze, that usually means the pad-product combo was a little too aggressive for the finish, not that you need more force. The right adjustment is almost always to refine the process, not to lean harder on the machine.
When hand buffing is enough and when it is not
Hand work still has a place. For a small scuff on a mirror cap, a light haze on a bonnet edge, or a little extra gloss on a well-kept daily driver, hand buffing is often enough and it gives you maximum control. It is also the safer choice when you are working close to rubber, raised body lines, or delicate trim.
| Method | Best for | Strengths | Limits |
|---|---|---|---|
| Hand buffing | Light haze, tiny defects, tight areas, spot work | Cheap, slow, low risk | Limited correction, tiring on larger panels |
| Dual-action polisher | Most DIY paint correction jobs | Balanced cut, safer than a rotary, consistent finish | Needs practice and the right pad/product pair |
| Rotary polisher | Experienced correction work and heavier defects | Fast cut on hard paint | Highest risk of heat, holograms, and burn-through |
When the defects cover several panels, when oxidation is obvious, or when the paint has deep swirls from poor washing, hand work usually becomes too slow to be practical. If a scratch catches a fingernail, I assume it is beyond normal buffing and treat it as a separate repair question. That is the point where the next section becomes important, because most finish problems are self-inflicted rather than product-related.
The mistakes that create haze instead of gloss
Most bad buffing jobs do not fail because the product is weak. They fail because the process is rushed, dirty, or too aggressive for the paint.
- Using too much product leaves the pad greasy and reduces correction. A light, even load works better than a heavy one.
- Working on too large an area makes it hard to keep pressure and pad movement consistent. Smaller sections give cleaner results.
- Skipping pad cleaning turns the pad into a residue collector. Once that happens, it starts marring the finish instead of refining it.
- Buffing in direct sun or on hot panels shortens working time and raises the risk of smearing and dry buffing.
- Chasing deep defects with more pressure is how edges get burned through and clear coat gets thinned too much.
- Ignoring trim and panel edges creates the classic white polish stains and, in worse cases, damage to high spots.
The best discipline is to start mild, inspect honestly, and only step up once the test spot proves it is needed. I would rather do two controlled passes than one aggressive one that leaves haze I then have to remove. Once the surface is corrected, the next job is to stop it from slipping back to where it started.
Protect the finish so the work lasts
Buffing and polishing restore the surface, but they do not replace protection. As soon as the gloss is where you want it, I seal it. On a car that sees UK weather, that step matters because rain, grit, road film, and winter salt will quickly dull a naked surface.
For most owners, the choice comes down to how much durability and effort they want.
| Protection | Look | Typical durability in real use | Best for |
|---|---|---|---|
| Carnauba wax | Warm, wet-looking gloss | Often weeks to a couple of months | Weekend cars and easy application |
| Synthetic sealant | Crisp, reflective finish | Often a few months | Daily drivers and longer maintenance intervals |
| Ceramic spray | Slick feel with strong water beading | Commonly a few months, depending on washing | Fast protection after polishing |
| Professional ceramic coating | Sharp gloss with stronger chemical resistance | Typically measured in years when maintained properly | Owners who want long-term protection and are willing to pay for it |
What I would not buff and would hand off to a pro
There are times when buffing is the wrong answer, or at least not the first answer. Deep scratches that have gone through the clear coat, failing or peeling paint, and badly oxidised panels need a different repair strategy. Matte and satin finishes are another hard stop unless the manufacturer explicitly allows a specific cleaner or rejuvenator.
I am also careful with freshly painted panels. Depending on the paint system and the bodyshop's instructions, new paint may need to cure for weeks before any machine polishing is considered safe. If the panel has been resprayed and you do not know the thickness or cure state, I would avoid aggressive correction altogether. For older cars, a paint depth gauge is useful, especially if the vehicle has had prior repairs and the clear coat thickness is unknown.
Professional correction in the UK is not cheap, but it can be the better value once the job becomes too large or too risky for DIY. A single-stage enhancement or one-step correction often starts around £250-£400, while a larger multi-stage correction can move into the £500-£900+ range depending on size and condition. That is exactly the kind of comparison I want people to make before they start cutting clear coat on their own driveway.
The last checks that separate a decent result from a proper one
- Inspect the panel in daylight and again under a strong LED or inspection light.
- Check edges, badge recesses, and around body lines where residue often hides.
- Make sure the finish is clear, not just shiny; haze can look good in shade and fail in direct light.
- Rewash or wipe down any dust before applying wax, sealant, or ceramic spray.
- Save the strongest combo for last only if the test spot proves it is needed.
If I had to reduce the whole process to one principle, it would be this: start with the mildest method that can still do the job, then refine only as far as the paint actually needs. That approach gives you the cleanest finish, the least risk, and the most durable gloss on a car that has to survive real roads, real weather, and real washing habits.