The fastest route to a lasting fix
- A weak A/C system usually means a leak, not just low gas.
- Start with a pressure test and a visual inspection for oily residue or damaged parts.
- Common failures are condensers, O-rings, service valves, hoses, compressor seals and evaporators.
- In the UK, the leak should be repaired before any refill, and recovery/recharge belongs with a qualified technician.
- Recharge prices are far lower than real repairs, but a recharge alone only masks the fault.
What a refrigerant leak really means
I start with the biggest misconception: a weak car A/C system is not “just out of gas”. These systems are sealed, so if the charge has dropped enough to make the vents warm, refrigerant has escaped somewhere, even if the leak is tiny and the system still works on cool mornings. If the system is low, something has already failed.
That matters because topping up the system does not solve the problem. In Great Britain, a service provider should not refill an air-conditioning system that has an abnormal leak until the cause has been repaired, and refrigerant recovery on passenger cars and light vans requires the right qualification. Modern UK cars usually run R134a or R1234yf, so I always confirm the label under the bonnet before any work starts.
Once that is clear, the next job is tracing where the gas is escaping, because the leak point decides everything that follows.

The leak points I check first
Most A/C leaks are not mysterious. They happen where the system sees vibration, heat, road spray or physical damage, and they often leave a light oily film because compressor oil travels with the refrigerant. The trick is to look where failures are most common instead of guessing from the vent temperature alone.
| Likely leak point | Why it fails | Clues I look for | Typical repair |
|---|---|---|---|
| Condenser | Stone damage, corrosion, front-end impact | Oily marks on the front of the radiator pack, weak cooling in traffic | Replace the condenser and recharge the system |
| O-rings and service ports | Age, heat cycles, disturbed fittings | Residue around caps, valves or pipe joints | Replace seals, valve cores or caps as needed |
| Hoses and crimps | Rubber ageing, vibration, chafing | Oil near hose ends or along rubbed sections | Replace the hose assembly or damaged line |
| Compressor shaft seal | Wear, poor lubrication, bearing damage | Oil around the compressor body, noise, intermittent cooling | Repair the seal or replace the compressor |
| Evaporator | Corrosion, moisture, debris inside the dash | Leak with no visible external trace, oily smell, dye at the drain | Evaporator replacement, usually a labour-heavy job |
If the car cools better at speed than it does in slow traffic, I immediately suspect the condenser or airflow issue before I blame the compressor. That clue saves time, and the next stage is confirming the leak with proper testing rather than more guesswork.
How a proper leak diagnosis is done
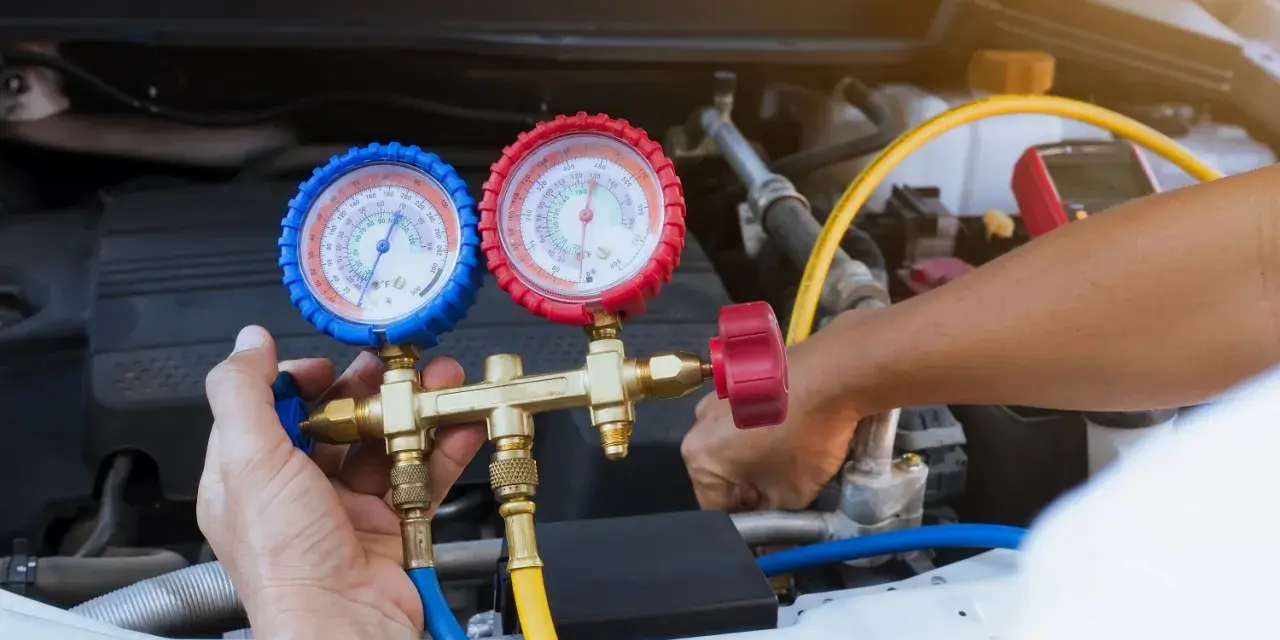
A workshop diagnosis should be more than a quick glance and a refill machine. A proper check usually combines a temperature reading, refrigerant check, nitrogen pressure test and a visual inspection of the compressor, condenser, drive belts and hoses. That is the kind of sequence I want because it separates a simple low-charge issue from a real leak.
- Start with a visual inspection for oily residue, damaged fins, loose fittings and rubbed hoses.
- Use dry nitrogen to pressure-test the circuit. Nitrogen is preferred because it helps reveal leaks without adding moisture to the system.
- Add UV dye if the leak is slow or intermittent, then recheck after the system has run and the dye has circulated.
- Use an electronic sniffer around service ports, joints, the compressor and the evaporator drain if the leak is still hidden.
- Finish with a vacuum hold test after the repair. A vacuum test confirms the system holds pressure, but it does not replace the actual leak search.
Halfords’ diagnostic follows that kind of approach and typically includes a temperature check, refrigerant check, nitrogen leak test and inspection of the major components, with the pre-service inspection taking about 30 minutes. That is the standard I would expect before anyone starts replacing parts.
Once the source is pinned down, the right repair is usually obvious even if the labour is not.
Which repairs actually solve the problem
I do not treat every leak the same way, because the right fix depends on where the system has failed. A small seal leak is a very different job from a cracked condenser or an evaporator buried behind the dashboard.
| Repair | Best for | Why it works | What to watch for |
|---|---|---|---|
| Replace O-rings or valve cores | Small leaks at joints, caps and service ports | Restores the seal where the refrigerant is escaping | Only worth doing if the leak is clearly at that joint |
| Replace a hose or line | Cracked rubber, worn crimps, chafed pipework | Stops the leak at the damaged section instead of chasing it | Use refrigerant-rated parts, not generic hose |
| Replace the condenser | Stone strike, corrosion, front-end damage | Fixes one of the most common external leak points | Recharge is required afterwards |
| Replace the compressor or seal | Oil loss, seal failure, noisy or failing compressor | Removes the source of the leak and any failing internals | This is usually one of the more expensive repairs |
| Replace the evaporator | Hidden leak inside the HVAC box | Solves a leak that cannot be fixed from outside the car | Dashboard labour makes this a serious job |
Whenever the circuit is opened, I also replace the receiver-drier or accumulator where the system design calls for it. That part holds desiccant, which means it protects the system from moisture, and skipping it is a false economy. I also avoid stop-leak cans: they may buy time on a tiny leak, but they can make a proper repair harder later.
Once you know which part has failed, the next question is whether the bill still makes sense on this car.
What it costs in the UK in 2026
The price range is wide because the leak location drives the labour. A simple joint or valve repair is one thing; an evaporator or compressor job is another. Halfords currently lists a full regas at £74.99 for R134a and £139.99 for R1234yf after diagnosis, while RAC guidance from March 2026 puts small leak repairs or minor component replacement at £100-£300 and major compressor work above £400.
| Job | Typical UK cost | What you are paying for |
|---|---|---|
| Basic check or pre-inspection | Free to about £100 | Initial diagnosis, pressure reading and visual inspection |
| Regas or recharge only | About £75-£140 | Refrigerant refill after the system has been checked |
| Minor leak repair | £100-£300 | Seals, valve cores, small hoses or other small components |
| Compressor-related repair | £400-£800+ | Parts, labour, evacuation and recharge |
| Full system replacement | £500 to over £1,000 | The parts and labour needed when the fault is spread through the system |
The price that catches people out is not the recharge, it is the diagnosis they skipped. If a garage keeps topping up a leaking system, you are paying twice: once for the gas and again for the repair you should have done first.
What you can do yourself and what I would leave to a specialist
- Inspect the condenser face for bent fins, stone damage and oily patches.
- Check the visible hose joints and service port caps for residue.
- Note whether the compressor engages and whether cooling is worse at idle than at speed.
- Replace a clogged cabin filter if airflow is poor, because weak airflow can hide the real fault.
- Leave refrigerant recovery, evacuation and recharge to a qualified technician.
That last point is not just a formality. In the UK, recovery and recharge work on mobile air-conditioning systems belongs with someone who is qualified to handle refrigerant properly, and that is the safest route anyway because the machine can recover, vacuum and refill to spec instead of guessing. If the leak is internal or the system has already been opened, I stop at inspection and hand it over.
After the repair is done properly, prevention is mostly about keeping the system clean and used, not babying it.
How to keep the same leak from coming back
- Run the air conditioning regularly, even in cooler months, so seals stay lubricated.
- Keep the condenser and front grille clear of leaves, salt and road debris.
- Fix front-end damage early, because a tiny condenser strike often becomes a bigger leak later.
- Have the system serviced about every two years if the owner’s manual supports that interval.
Those habits will not prevent every failure, but they do reduce the odds of a slow leak becoming a compressor problem. They also make diagnosis easier next time, because a clean, recently used system gives clearer clues.
The repair decision that usually saves the most money
If the leak is a service valve, O-ring or hose connection, repair it and move on. If the condenser has been peppered by stones, replace it instead of chasing it. If the evaporator or compressor is leaking, I compare the quote against the car’s age, mileage and value before approving the job, because hidden labour can turn a comfort fix into a poor financial decision.
The rule I use is simple: if the system will not hold pressure after repair, the job is not finished, no matter how cold it felt on the day. A proper fix is always diagnosis first, repair second, recharge last.