A jump starter is only useful if it is actually charged, and that is where most people run into trouble: the original charger is missing, the connector is awkward, or the unit is sitting in the boot with a flat battery. In practice, the safe answer is not to improvise with any cable that happens to fit, but to use a charging input the manufacturer intended and to match the electrical specs exactly. This guide covers the real alternatives, the ones I would avoid, and the checks that keep the pack from being damaged.
The safest route is to use a supported charging input
- Check the label first for USB-C IN, DC IN, or another marked charging port.
- If the unit accepts only one charger type, the best fix is usually an exact replacement charger.
- USB-C charging works only when the port is an input and the power profile matches the manual.
- Some older packs can recharge from a running vehicle through a 12V accessory lead, but many modern lithium units cannot.
- Wrong voltage, reversed polarity, and charging a cold pack are the fastest ways to create a problem.
Figure out the battery type first
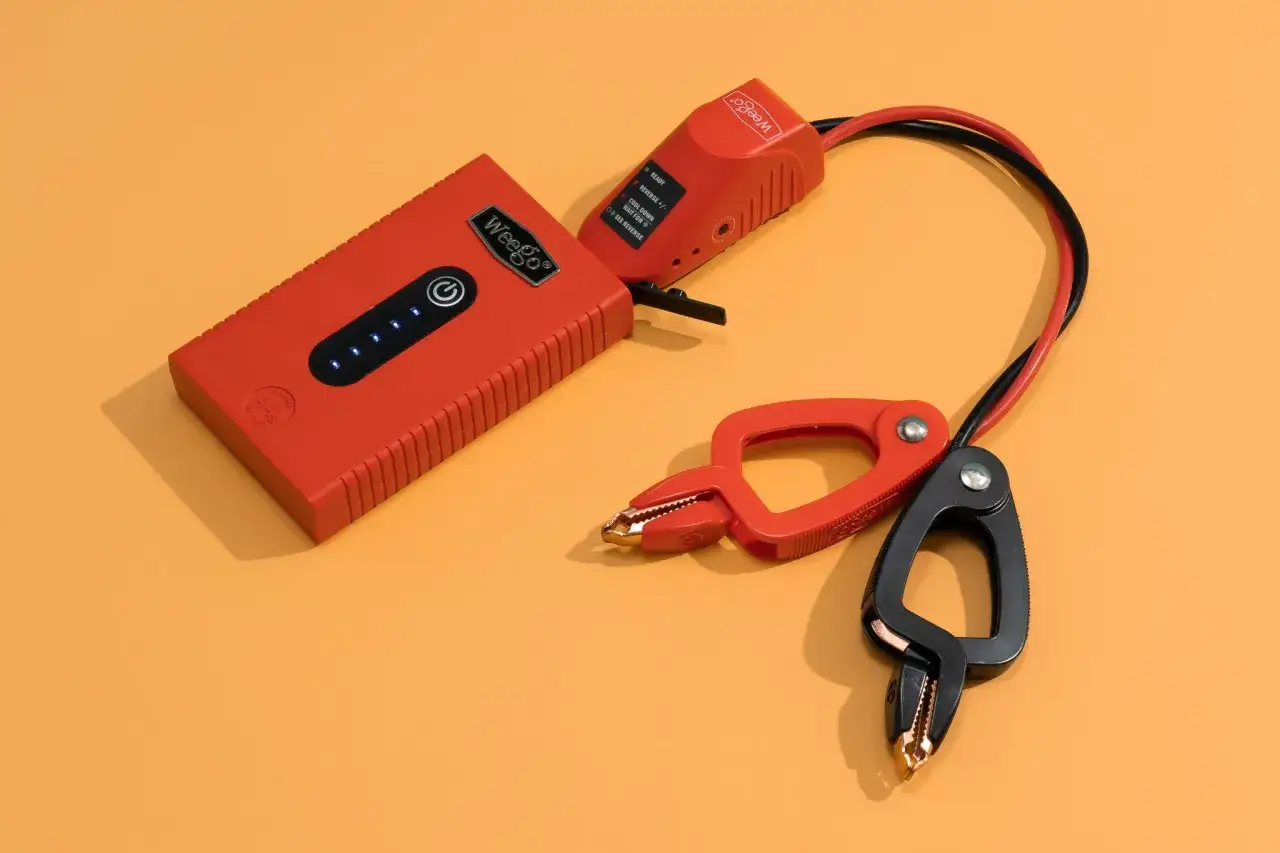
Before I try any workaround, I want to know whether I am dealing with a lithium-ion jump starter or an older lead-acid jump pack. The chemistry matters because the charging method, safe temperature range, and connector style are often different. A compact lithium unit usually charges through USB-C or a model-specific DC input, while a heavier lead-acid pack is more likely to use a dedicated mains charger and, on some models, a 12V vehicle lead as a backup.
I also check the label and the manual for the exact charging window. Some units refuse to start charging if they are too cold or too hot, and that can look like a dead battery when the real issue is temperature. On a cold UK morning, a pack left in the boot may need to warm to room temperature before it will accept a charge. Once I know the chemistry and temperature limits, the next decision is which alternative path is actually worth trying.
The safest alternative charging paths
There are only a few alternatives I trust, and all of them depend on the unit’s own input design. If the port is not marked as an input, I treat it as off limits. If the manual does not mention a method, I do not assume it is safe just because the plug fits.
| Method | When it makes sense | What I check | My verdict |
|---|---|---|---|
| USB-C input | Modern units with a port marked USB-C IN or similar | Input voltage, power profile, and whether the port is really bidirectional | Best option for many lithium jump starters |
| 12V vehicle socket or vehicle-specific DC lead | Some older packs and a few heavy-duty models | Manual approval, polarity, and whether charging must be monitored | Useful, but not universal |
| Exact replacement charger | When the original charger is lost or failed | Same voltage, same connector, correct polarity, suitable current rating | Safest if the right part is available |
| Regulated bench supply or universal adapter | Only for experienced users who can verify specs | Exact output, polarity, and regulation quality | Possible, but easy to get wrong |
Solar charging sounds appealing, but I would treat it as a niche backup rather than a serious plan. It is only sensible if the jump starter explicitly supports that input and the panel includes proper regulation. For most drivers, it is too slow and too inconsistent to depend on. The practical options are the ones above, and the safest way to use them is to follow the exact charging path step by step.
How I would charge it step by step
When the unit supports more than one input, I start with the simplest one and work outward. The order matters because I want the least risky method first, not the one that sounds cleverest.
USB-C input
- Confirm that the port is marked as an input, not an output.
- Use a known-good USB-C charger or power bank that matches the manual’s required input profile.
- Connect the cable to the jump starter first, then connect the charger to the mains or power bank.
- Watch for the charge indicator to confirm that current is flowing.
- Stop when the unit reaches full charge; do not leave it connected just because the cable fits.
If the manual lists something like 5V/2A or 9V/2A, a charger with enough capacity is fine, but only if the jump starter is designed to negotiate that profile. A stronger charger does not force extra power into the battery; it only gives the unit headroom. The weak point is usually not the charger wattage, but the assumption that every USB-C port behaves the same way. It does not.
12V vehicle socket or vehicle-specific DC lead
- Use this method only if the manual explicitly allows it.
- Start the donor vehicle so the socket is powered correctly.
- Plug the lead into the jump starter first, then into the vehicle’s 12V accessory socket.
- Monitor the charge closely instead of leaving it unattended.
- Disconnect once the indicator shows a useful state of charge.
This route is more common on older heavy-duty packs than on modern slim lithium units. It can work well for a top-up, but it is not the kind of method I would use overnight. Some manuals warn that this is an emergency charging path and that overcharging can damage the pack if you ignore the indicators. In other words, it is a backup, not a substitute for a proper charger.
Read Also: Trickle Charger vs. Jump Starter - Which One Do You Need?
Exact replacement charger or regulated adapter
- Match the output voltage to the original charger exactly.
- Verify the connector size and polarity before anything is plugged in.
- Make sure the current rating is equal to or higher than the original charger’s requirement.
- Use a regulated supply only if you can verify the settings with confidence.
- Charge in a ventilated area, especially with lead-acid models.
This is the cleanest fix when the original charger has gone missing. If the jump starter uses a barrel connector, polarity matters as much as voltage. A charger that is physically close but electrically wrong can damage the battery management circuit or simply fail to start charging. In the UK, I would rather buy the correct replacement than gamble on a generic adapter kit.
What can go wrong when you improvise power
This is the section that saves money. The temptation is to make the connector fit and hope the charging light comes on, but that is exactly how people end up with a damaged pack.
- Wrong voltage can overheat the battery or leave it unable to charge at all.
- Reversed polarity is especially dangerous on barrel-style connectors.
- Random phone chargers are often the wrong output and may not wake the unit.
- Unregulated universal adapters can drift above the safe range under load.
- Charging a frozen pack is a bad idea; some manuals refuse to start charging outside roughly 32-108°F, or 0-42°C.
- Leaving a 12V charge unattended is risky on units that require monitoring during that mode.
If the unit seems dead, warm it up and test the basics
When a jump starter appears completely dead, I check the boring things first. Is it cold enough to block charging? Is the port dirty? Is the cable damaged? Did the protection circuit trip because the battery fell too low? Those simple checks solve more problems than people expect.
Lithium packs can also enter a sleep state after deep discharge. A proper charger may be able to wake them gently, but random power sources usually cannot. If the battery is cold, I bring the unit indoors and let it sit at room temperature before trying again. If it has a swollen case, a burnt smell, or feels unusually hot, I stop there and retire it. No jump starter is worth pushing past obvious damage.
Keep the pack ready before the next flat battery
The best way to avoid this problem is to treat the jump starter like the emergency tool it is. I top it up after every use, check it every few months, and keep the correct charger with the unit instead of scattering pieces of the setup around the garage. If the charger is missing, I replace it with the exact model or a manufacturer-approved equivalent, not the nearest cable in the drawer.
If I had to reduce the whole subject to one rule, it would be this: only charge the jump starter through an input the manufacturer intended. That one habit protects the battery, avoids overheating, and makes sure the pack is actually ready when the car will not start. And if you keep the unit stored charged and warm enough to charge normally, you will probably never need a workaround in the first place.