Rubbing compound can be the right fix when the damage sits in the clear coat, not when the paint has been cut through. The real skill is judging the depth of the mark, using the lightest correction that works, and finishing the panel so it still looks glossy instead of hazy. I would treat it as a controlled paint-correction job, not a brute-force cure-all, because that approach protects the finish and usually gives a better result.
The quick checks that tell you whether compound is worth trying
- Best target: light swirl marks, wash marring, and shallow scratches in the clear coat.
- First test: run a fingernail across the mark. If it catches hard, compounding is unlikely to remove it completely.
- Important limit: if you can see primer, base coat, or metal, stop and move to touch-up paint or a professional repair.
- Typical workflow: wash, decontaminate, test a small area, then refine and protect the finish.
- Common reality: compound often improves a scratch a lot without making it fully disappear.
How rubbing compound works on clear coat
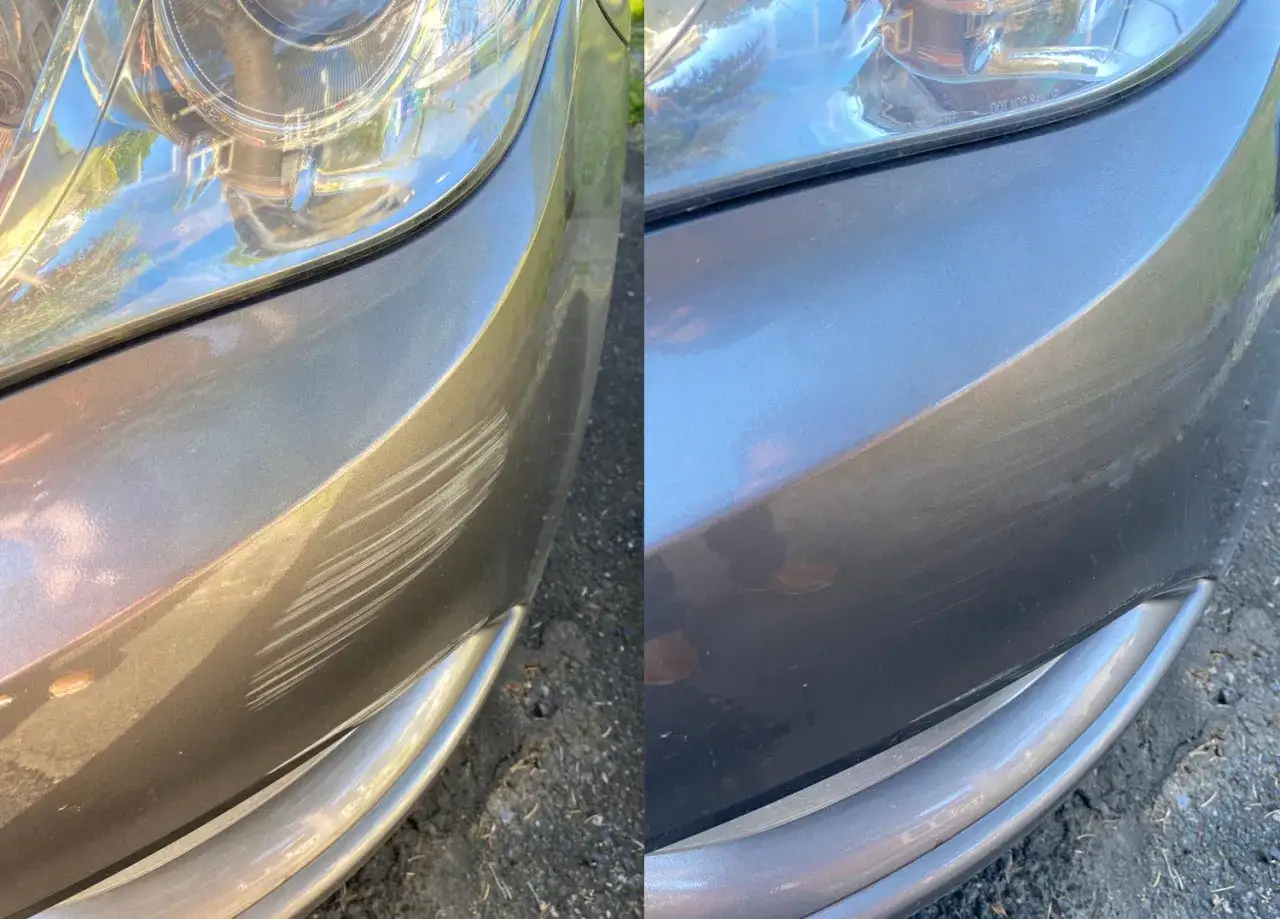
A rubbing compound is an abrasive product that levels the edges around a scratch so the surface reflects light more evenly. It does not magically fill the defect. It removes a very thin layer of clear coat, which is why it can make a mark look dramatically better, but also why overuse can leave the panel dull or patchy.
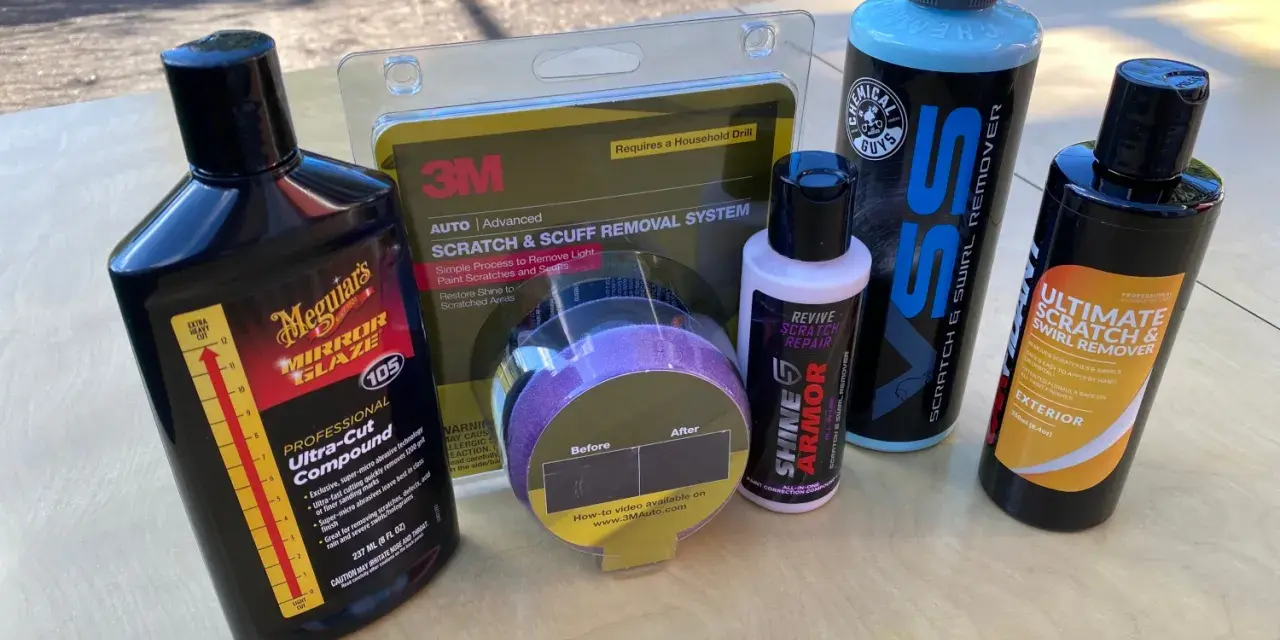
That is also why modern clear-coat-safe formulas matter. 3M’s scratch-removal guidance focuses on defects that sit in the clear coat surface, while Meguiar’s warns against harsh traditional compounds on modern clear coats because they can haze the finish. In practice, I want a product that cuts enough to remove light damage, but still finishes cleanly on glossy exterior paint.
Once you understand that you are refining the surrounding finish rather than erasing damage from thin air, it becomes much easier to decide which scratches are worth chasing and which ones are better left alone.
Which scratches are worth correcting
I use the fingernail test as a quick screen, but I never treat it as the final verdict. Some marks catch the nail because of their sharp edge, yet still live mostly in the clear coat. Others look minor at a glance but have already gone through the coloured layer. The difference matters because compound is only useful in the first case.
| What it looks like | Fingernail test | Can compound help? | Better next step |
|---|---|---|---|
| Light wash marring or swirl marks | No catch | Yes, usually | Compound, then a finer polish |
| Shallow scratch in the clear coat | Light catch or no catch | Often partly | Test spot first, then refine |
| White scuff or paint transfer | May not catch | Sometimes, but clean first | Wash or use a safe cleaner before compounding |
| Scratch with primer, base coat, or metal visible | Catches clearly | No | Touch-up paint or body shop repair |
I am extra cautious on sharp body lines, bonnet edges, and around door handles because the clear coat is easier to overwork there. Older single-stage paint also behaves differently, so I would test even more gently on a classic or a panel that has been resprayed. The point is simple: if the mark survives one careful test spot with no real improvement, that is usually your cue to stop rather than making the area thinner for no gain.
That decision sets the tone for the whole job, because the next step is not just “apply more product”, but choosing the right method and sequence for the panel.
The safest way to use compound on exterior paint
Prepare the panel properly
Wash the area thoroughly, dry it, and remove bonded grime with clay if the surface still feels rough. Compounding over grit is a good way to add new marring, and I would rather spend five extra minutes on preparation than spend twice as long correcting mistakes later. Tape off sharp edges, badges, textured plastic, and rubber trim before you start.
If the panel is warm to the touch or sitting in direct sun, wait until it cools. Heat makes compound dry too quickly and increases the chance of haze, especially on darker colours.
Work a small test spot first
Apply a small amount of compound to a foam applicator or polishing pad and work a section about 30 x 30 cm at a time. Use overlapping passes with light to medium pressure. The goal is controlled correction, not heavy scrubbing.
Wipe the area with a clean microfibre cloth, inspect it under strong light, and repeat once if needed. If the mark barely changes after two careful passes, I stop and reassess. More pressure usually just creates extra haze.
Read Also: Bug Splatter Removal - The Safest Way to Clean Your Car
Refine and protect the finish
After compounding, follow with a finer polish if the paint looks slightly cloudy, especially on black, navy, or metallic finishes. Compound is often the cutting step, not the finishing step. If you stop there, the repair can still look a little flat in daylight.
Finish with a sealant, wax, or ceramic spray so the corrected area is not left exposed. That protection does not hide a bad repair, but it does help the surface stay cleaner and makes future washing less abrasive.
Once you have the sequence right, the next question is whether to do the work by hand or let a machine handle the correction.
Hand application, DA polisher or rotary buffer
For small isolated scratches, hand application can work well enough. For larger areas, a dual-action polisher is usually the best compromise between safety and effectiveness. I only reach for a rotary buffer when I want faster cutting and I know the paint, pad, and pressure control are all under control.
| Method | Best for | Strengths | Limits |
|---|---|---|---|
| Hand application | Small scuffs, tight spots, edge work | Cheap, simple, low risk | Slow and uneven on larger panels |
| DA polisher | Door panels, bonnets, repeatable correction | Balanced cut, safer than a rotary, better finish consistency | Still needs the right pad and product match |
| Rotary buffer | Heavier correction, experienced users, body-shop work | Fast cutting power | Easier to create heat, holograms, or edge burn |
For most owners, the DA is the sweet spot. It gives real correction without the same risk of forcing heat into the paint. I keep hand application for door-handle scratches, tight corners, or a very small mark where setting up a machine would be overkill. The rotary can be excellent, but it is the least forgiving tool in the room.
Whatever method you choose, the biggest problems usually come from a few predictable mistakes rather than from the compound itself.
The mistakes that make the damage look worse
The quickest way to turn a small scratch into a dull patch is to assume more pressure will solve everything. I see the same mistakes over and over, and most of them are preventable with a slower, cleaner process.
- Starting too aggressive: If a light compound can do the job, there is no reason to jump straight to a heavy-cut product.
- Working too large an area: Compound needs a focused section so you can control the cut and wipe it off before it dries out.
- Using dirty towels or pads: One bit of trapped grit can create more marring than the original scratch.
- Skipping the finish step: Compounding alone often leaves micro-haze, especially on dark paint and softer clears.
- Letting product touch trim: Textured plastic and rubber can stain or turn chalky if compound dries on them.
- Chasing deep damage: If the scratch has gone through the clear coat, more passes only remove more paint without fully fixing the line.
- Ignoring temperature: Hot panels make compounds dry unevenly and raise the risk of swirl marks around the repair.
My rule is simple: if the panel starts to look better but not cleaner, I stop and refine instead of keeping the same abrasive on the same spot. A patient test spot tells you more than a long session of guesswork. That matters even more if you want the repair to survive the next wash.
How to stop the same marks coming back next month
Once the scratch is sorted, the real win is keeping the paint from getting hammered again. In the UK, winter road film, grit, and frequent machine washes can bring swirls back quickly, so maintenance is part of the repair, not an afterthought. I would switch to a gentler wash routine, use a plush microfibre drying towel, and avoid brush washes whenever possible.
A good sealant or ceramic spray makes the surface easier to clean, which means less friction every time you wash the car. If you have just corrected a small area, check it again after the first few washes. If it still looks clear, the method worked. If a scratch is still obvious after one careful test spot and a proper refinement step, that is usually the sign to stop and move to touch-up paint or professional body repair instead of asking the compound to do a job it cannot do.