The short answer to can you buff out scratches is yes, but only when the damage is shallow enough to live in the clear coat. I treat scratch removal as a judgement call, not a magic trick: identify the depth, use the least aggressive method that might work, and stop as soon as the finish improves. That is the difference between a tidy correction and accidentally thinning the paint for no good reason.
What matters most before you reach for polish
- Buffing works best on clear-coat marks, swirl marks, and very light surface abrasions.
- If a fingernail catches, the scratch usually needs more than polish.
- Compound removes more material than finishing polish, so start mild and escalate only if needed.
- Wash, decontaminate, and dry the panel before touching the paint with any pad or machine.
- In the UK, DIY supplies are affordable, but deeper repair and paint correction can move into the low hundreds quickly.
How to tell whether the scratch is buffable
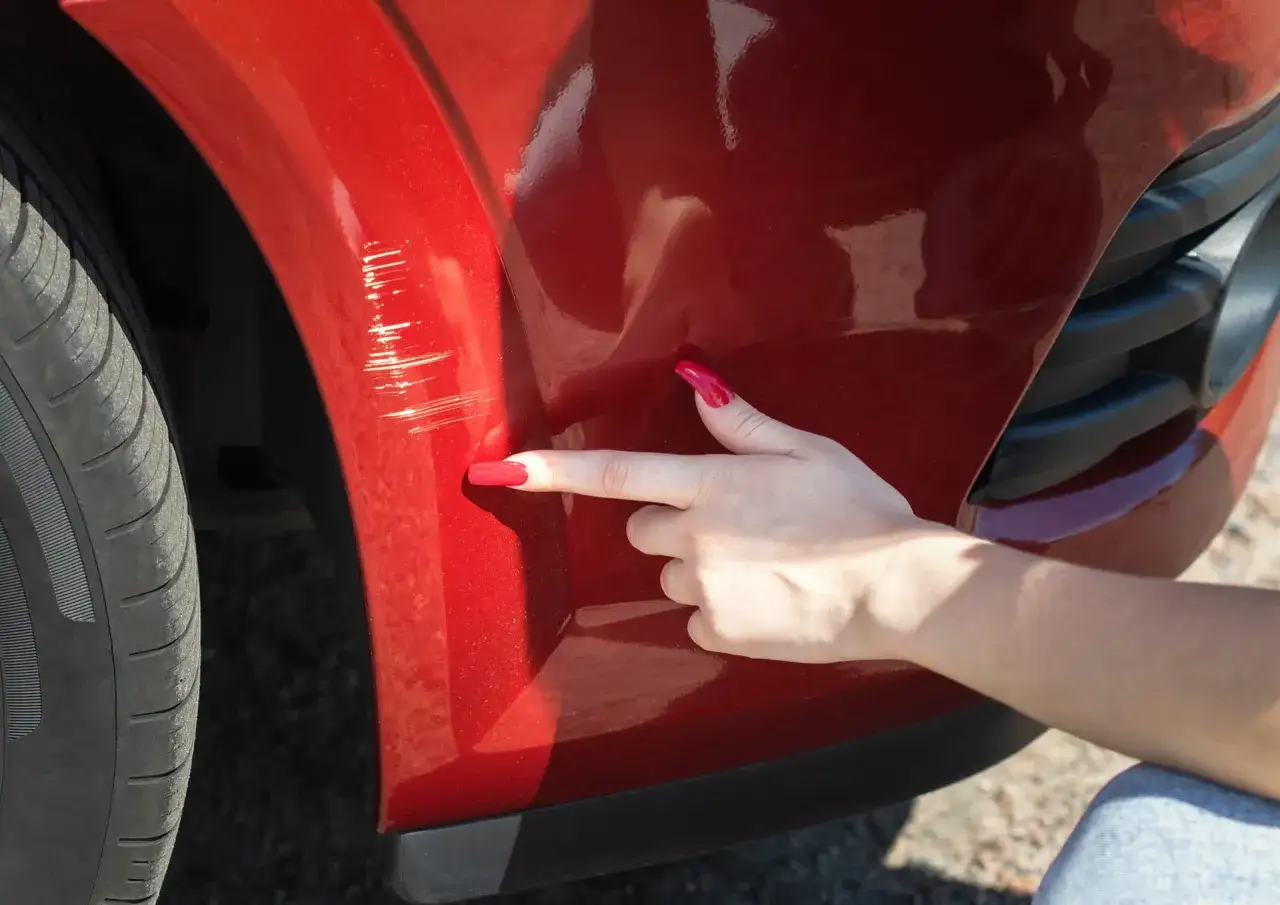
I always start with two checks: the fingernail test and a close look in good light. If the mark feels smooth, does not catch your nail, and only shows up at certain angles, it is probably in the clear coat or very close to it. UK motoring guides such as RAC and Halfords use the same basic rule of thumb because it is still the quickest way to separate a polishable mark from a real paint repair job.
| Scratch type | What it usually looks like | Fingernail test | Can buffing help? | Best next step |
|---|---|---|---|---|
| Clear coat scratch | Fine line, dull patch, swirl mark, no colour change | Usually does not catch | Yes, often noticeably | Polish or compound, then protect the area |
| Base coat scratch | Colour change or a brighter line in the paint | Often catches lightly | Only slightly | Touch-up paint or professional blending |
| Primer or metal exposed | Grey, white, or bare metal visible | Usually catches clearly | No, not in a real sense | Proper body repair to prevent corrosion |
The point is not to diagnose every mark perfectly from your driveway. It is to decide whether polishing is worth trying, or whether you should stop before the damage needs colour repair. Once you know that, the real job is understanding what buffing actually does to the paint.
What buffing really does to paint
Buffing does not magically refill a groove. It works by using fine abrasives to level the sharp edges around the defect so light reflects more evenly again. That is why a scratch can seem to disappear even though a microscopic amount of clear coat has actually been removed.
That distinction matters. Polishing is a correction step, not a licence to keep going until the mark is gone at any cost. A finishing polish has a lighter cut and is best for haze, very fine marks, and gloss restoration. A compound has more cut and is better for more visible defects, but it also demands more care around edges, badges, and body lines where the clear coat can be thinner.
In practice, the goal is not perfection at any price. The goal is to make the scratch stop catching the eye while preserving as much paint as possible. That is why the safest home approach is a controlled one, not a heavy-handed one.
A safe way to remove light scratches at home
For isolated marks, I usually try hand correction first. For larger areas or multiple light scratches, a dual-action polisher gives a more even result, but it also raises the stakes if you choose the wrong pad or product. The table below is a simple way to choose the approach.
| Method | Best for | Advantages | Trade-off |
|---|---|---|---|
| Hand polishing | Small isolated marks | Cheap, low risk, easy to control | Slower and less effective on stubborn defects |
| Dual-action polisher | Panel-wide swirls and multiple light scratches | Faster, more even correction, better finish | More expensive and easier to overdo with the wrong setup |
| Rotary polisher | Experienced users and deeper correction work | Strong cutting power | Highest risk of overheating paint or leaving marks |
- Wash the car properly with shampoo, not household detergent, and use the two-bucket method if you can.
- Dry with a clean microfibre towel, then inspect the panel in direct light or under a strong inspection lamp.
- If the paint feels gritty, clay the area first. Contamination can make a light scratch look worse than it is.
- Mask trims and adjacent plastics, especially on black cars where compound residue shows easily.
- Start with the least aggressive product. A finishing polish is worth trying before a heavier compound if the mark is truly light.
- Work a small section at a time, using overlapping passes and light to moderate pressure. I prefer two gentle passes over one aggressive one.
- Wipe, inspect, and stop once the defect stops improving. If you need to push hard, the scratch may be too deep for polishing alone.
- Finish with a sealant or wax so the panel is protected after the correction.
The key habit here is restraint. You are trying to smooth the defect, not erase it by brute force. Once the clear coat is thinned, you cannot put it back, which is why the next question is where polishing stops being enough.
When polishing stops being enough
If you can see white, grey, red, or bare metal inside the scratch, you are usually beyond simple buffing. The same applies when the line catches a nail, runs along a sharp edge, or has already started to rust. In those cases, polish may soften the edges and reduce the contrast, but it will not replace missing paint.
- Clear coat only usually responds well to polish or compound.
- Base coat damage often needs touch-up paint and blending.
- Primer or metal exposed needs proper repair to prevent corrosion and visible patching later.
That is the point where I stop chasing a cosmetic shortcut and decide whether a touch-up pen, SMART repair, or full respray is the smarter spend. Cost then becomes part of the decision, not an afterthought.
What it costs in the UK and which products are worth buying
As of 2026, UK pricing is still fairly predictable for small jobs. A decent DIY kit with compound, polish, pads, and microfibre cloths usually lands around £20 to £50. A dual-action polisher with pads often starts around £80 and can climb to £250+ once you buy better pads and backing plates. For professional work, minor clear-coat scratch repairs are commonly quoted around £60 to £150, while more involved correction or repainting can move into the £150 to £500+ range depending on panel size, paint match, and the amount of blending needed.
| Option | Typical UK cost | Best when | Main trade-off |
|---|---|---|---|
| Hand compound and polish | £20-£50 | The scratch is light and localised | Slow and limited on more obvious defects |
| Dual-action polishing setup | £80-£250+ | You want better correction on several panels | More cost, more learning, more chance of overcorrection |
| Mobile SMART repair | £60-£150 | The mark is shallow but too visible for a polish-only fix | Finish is good, but not always invisible in every light |
| Body shop repaint | £150-£500+ | Base coat, primer, or metal is exposed | Most expensive, but the only real fix for deeper damage |
I would rather spend £15 on the right compound than £40 on a gimmick product that promises miracles. Household hacks such as toothpaste or aggressive cleaners may disguise a mark for a moment, but they are too inconsistent for modern clear coat. For a daily driver, the better question is not whether the repair is free; it is whether the result justifies the time, effort, and paint risk.
The easiest way to keep the repair from showing again
Once the mark is reduced or gone, protection matters more than most people think. Freshly polished paint is clean but more exposed, so I always finish with a wax or sealant, then go back to careful washing habits: a pre-rinse, a proper shampoo, a clean wash mitt, and a dry microfibre towel. If the car faces winter road salt, motorway grime, or frequent brush washes, the difference shows quickly.
- Use the two-bucket method and keep a separate mitt for lower panels.
- Dry with a clean microfibre towel, not an old bath towel.
- Avoid automated brush washes if you care about the finish.
- Remove bird droppings and tree sap quickly, before they bake into the clear coat.
- Reapply wax or sealant every 6 to 12 weeks, or use a durable coating if you want longer protection.
My rule is simple: polish only as much as the paint needs, then protect the result. That gives you the best chance of making a scratch disappear without turning a small cosmetic job into a larger paint problem.