A p0137 code points to a low-voltage problem in the Bank 1, Sensor 2 oxygen sensor circuit, which means the engine control unit is unhappy with the rear lambda sensor after the catalytic converter. In practice, that can mean a tired sensor, damaged wiring, an exhaust leak, or a lean-running engine that is skewing the reading. I usually treat it as a wiring-and-data problem first, not a catalytic converter failure.
The rear oxygen sensor circuit is the first place to look, but the surrounding wiring and exhaust system decide the real fix.
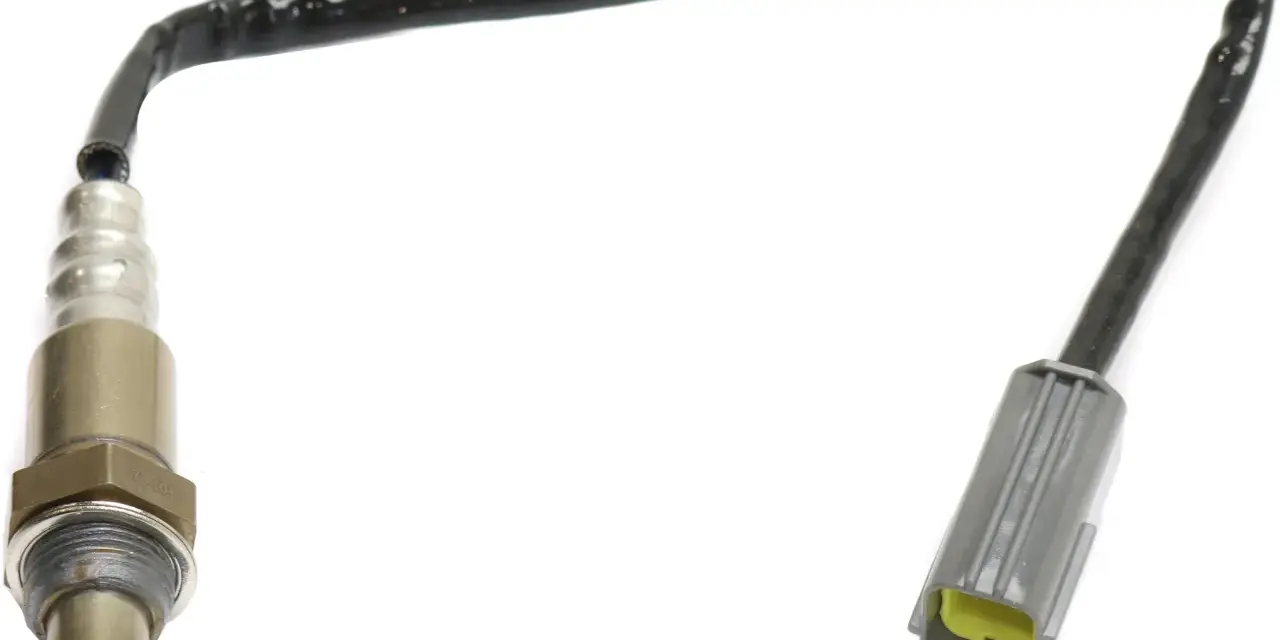
- Bank 1, Sensor 2 is the downstream sensor, after the catalytic converter.
- The code does not automatically mean the sensor itself is bad.
- Most faults come from wiring damage, connector corrosion, exhaust leaks, or a genuine lean condition.
- The car may still drive normally, but emissions performance and MOT readiness can suffer.
- Clear the code only after you have checked live data, the harness, and the exhaust for leaks.
What the fault actually means
Bank 1 is the side of the engine with cylinder 1; on an inline engine there is only one bank. Sensor 2 is the rear, or downstream, oxygen sensor, and its job is mainly to help the ECU monitor catalyst efficiency rather than control fuelling directly. When that circuit sits too low for the time the ECU expects, it logs P0137.
That distinction matters because the rear sensor is often blamed for problems it did not create. If the exhaust is leaking, the harness is damaged, or the engine is running lean upstream, the rear sensor can look guilty even when it is only reporting what it sees. I always read the code as a clue, not a verdict. That is why the symptoms matter next.
The symptoms are usually mild at first
Many cars with this fault still start, idle, and pull normally, which is why owners sometimes ignore it for weeks. The most obvious sign is the engine management light, sometimes with a stored code and no obvious drivability complaint.
- Check engine light or EML that stays on steadily.
- Reduced fuel economy if the underlying issue is a lean condition or bad exhaust data.
- Rough idle or hesitation when the root cause is not the sensor but the engine running poorly.
- Failing emissions readiness if the monitor cannot complete its tests.
- Related codes such as P0136, P0138, P0141, P0171, or P0420.
If the light is flashing, I treat that as a different problem and stop driving until I know what is happening. A steady light is usually less urgent, but it still deserves prompt diagnosis before it becomes a bigger repair. Those clues narrow the fault list, which is why the next step is to look at the usual causes.
What usually causes the low-voltage reading
The most common mistake is assuming the rear lambda sensor has failed just because the code mentions it. In real workshops, I see wiring damage and exhaust issues far too often for that shortcut to be reliable.
| Likely cause | Why it sets the code | What to look for |
|---|---|---|
| Damaged sensor or ageing element | The signal stays too low or becomes sluggish | High mileage, repeated return of the code, normal wiring |
| Wiring or connector fault | Open circuit, short to ground, corrosion, or high resistance | Brittle insulation, green corrosion, heat damage, intermittent fault |
| Exhaust leak ahead of the sensor | Extra oxygen enters the exhaust stream and skews the reading | Ticking noise, soot marks, recent exhaust work, damaged gasket |
| Lean-running engine | The exhaust really is low on fuel content because the engine is lean | Other lean codes, fuel trim data, vacuum leaks, misfires |
| Contamination or fluid damage | Oil, coolant, or other fluid changes sensor response or harms the harness | Wet connectors, residue on wiring, repeat fault after repair |
| Control issue or software edge case | The ECU interprets the signal incorrectly or needs a calibration update | Fault returns after parts replacement and basic checks |
OEM bulletins often point technicians toward wiring routing, contamination, and sensor design changes rather than a simple sensor swap. That is a good reminder to check the car in front of you, not the parts catalogue in your head. With that in mind, the best next move is a structured diagnosis.
How I would diagnose it step by step
I start with the easiest evidence first, because that is where the cheapest fixes usually sit. A scan tool, a visual inspection, and a short road test tell me far more than a guess ever will.
What I check first
- Read the freeze-frame data and look for companion codes.
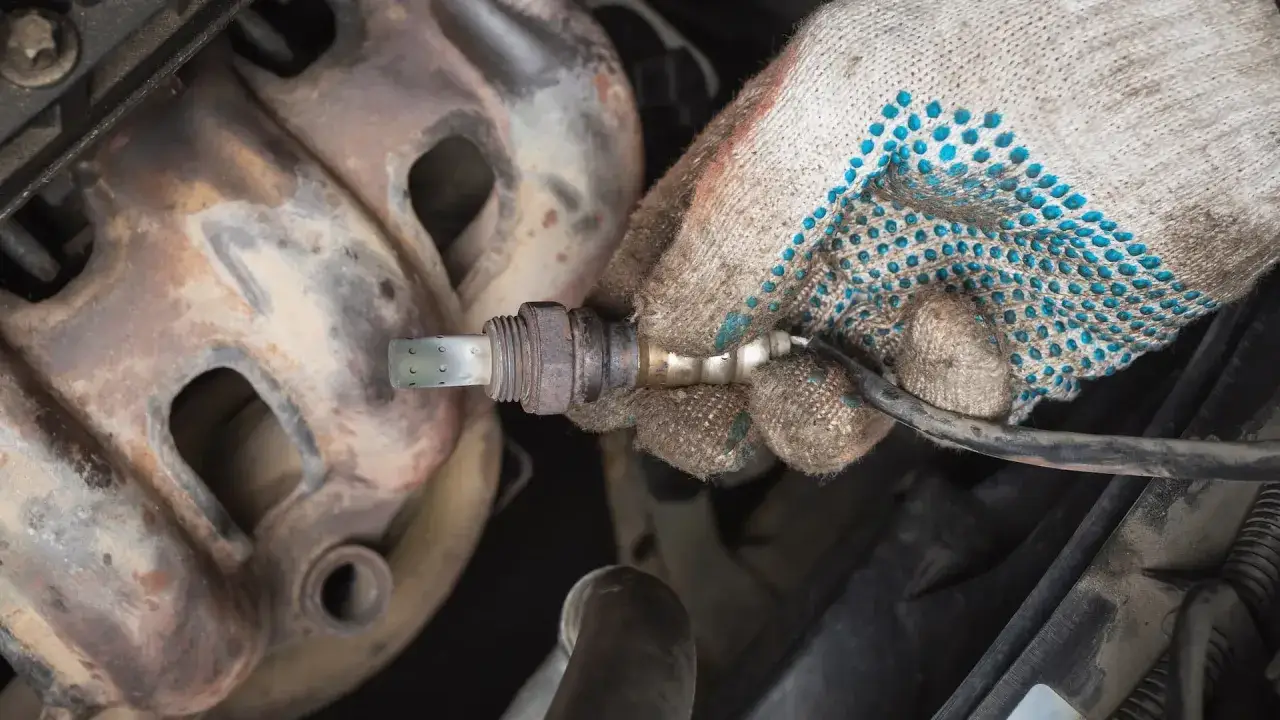
- Inspect the sensor connector, harness routing, heat shields, and nearby exhaust joints.
- Check live data from Bank 1, Sensor 2 while the engine is fully warm.
- Wiggle the harness gently and watch for the reading to jump or drop out.
- Test for exhaust leaks before the sensor and around the catalytic converter.
- Only then consider replacing the sensor or digging into fuel-trim faults.
On many vehicles, the rear sensor should show a fairly stable signal once the system is in closed loop, but the exact pattern depends on the sensor type and the manufacturer’s strategy. If the reading is flatlined low, I want to know whether the circuit is open, the sensor is biased low, or the exhaust is genuinely lean.
Read Also: Read Engine Codes Without a Scanner - Your Guide
Common mistakes I avoid
- Replacing the rear sensor before checking for a broken wire near the exhaust.
- Confusing Sensor 2 with Sensor 1 and diagnosing the wrong part of the system.
- Ignoring a vacuum leak, intake leak, or misfire that is creating a lean condition.
- Overlooking contamination from a nearby fluid leak or a heat-damaged connector.
- Clearing the code and assuming the repair worked without a proper road test.
This is where many DIY jobs go wrong: the sensor gets replaced, the code returns, and the real fault is still sitting in the harness or exhaust path. Once the diagnosis is clear, the repair choice becomes much easier to price.
Repair choices and realistic UK costs
In the UK, the right repair depends on what the diagnosis shows, and the price gap between the options is large. A simple connector repair is one thing; a catalytic converter is a very different bill.
| Repair | Typical UK cost | When it makes sense |
|---|---|---|
| Diagnostic scan and live-data check | £60-£120 at an independent garage, often more at a dealer | First step before replacing parts |
| Rear oxygen sensor replacement | £40-£160 for aftermarket parts, roughly £120-£300 for OE parts fitted | Sensor is slow, biased low, or confirmed faulty |
| Wiring or connector repair | £80-£250 | Harness damage, corrosion, melted insulation, or an intermittent fault |
| Exhaust leak repair | £60-£300+ | Leak found ahead of or near the rear sensor |
| Catalytic converter replacement | £500-£1,500+ | Only when catalyst testing or other codes justify it |
For an uncomplicated fault, I would expect the repair to land in the lower end of that range. If a garage jumps straight to a catalyst quote without proving the converter is actually bad, I would ask for more diagnosis. That part is expensive enough to deserve evidence, and the same logic applies to whether you can keep driving it while you decide.
Whether you can keep driving and what it means for the MOT
A car with this fault is often still drivable if it runs smoothly, but I would not leave it hanging around for months. The rear sensor helps the ECU verify emissions control, and if the underlying problem is a lean condition or an exhaust leak, the issue can spread into fuel trim or catalyst efficiency faults.
For UK drivers, the MOT angle matters too. GOV.UK’s MOT manual checks the engine malfunction indicator lamp on many petrol and diesel vehicles, and visible emissions-control defects can also be a problem. In plain terms, a lit EML from an emissions fault is not something I would expect to sail through a test.
My rule is simple: if the car drives normally and the light is steady, get it diagnosed soon rather than gambling on it. If it smells rich, runs rough, or the light starts flashing, stop assuming it is just a sensor and treat it as a more urgent fault. The final step is making sure the repair actually sticks.
What I check after the repair so the fault stays gone
The repair is not finished when the new part goes in. I want to see the ECU accept the repair, complete its monitor, and stay quiet through a proper drive cycle.
- Clear the code and confirm the MIL stays off during warm-up and a road test.
- Recheck live data to make sure the rear sensor is responding normally.
- Inspect the harness again after the engine and exhaust have heat-soaked.
- Verify there is no exhaust leak under load, not just at idle.
- Check related fuel-trim data so a lean condition does not quietly bring the fault back.
If the same code returns after those checks, I stop treating it as a parts problem and move back to system diagnosis. At that point, the answer is usually in the wiring, the exhaust, or a model-specific ECU strategy, not in another random sensor swap.