A fault code is only useful when you can connect it to the symptom that triggered it. In this guide, I show how to read engine codes without a reader on cars that still support manual retrieval, how to interpret the flashes or dash messages you do get, and when the warning light means it is time to stop guessing and get the car scanned properly. The goal is practical triage, not guesswork.
What matters most before you touch the ignition
- Manual code reading is vehicle-specific. It works on some older systems and a few dash-menu setups, but not on every car.
- The code points to a system, not always the failed part. A misfire code, for example, does not automatically mean a coil pack is bad.
- Steady amber is usually less urgent than flashing amber or red. A flashing lamp often means the car should be checked immediately.
- Write everything down first. Code, mileage, symptoms, and when the light appeared are worth more than a rushed reset.
- For modern EOBD cars, a reader or garage scan is often the only honest route. That is not a failure of DIY, just a limit of the system.
Start by checking what your car supports
I always start here because it saves time. Older OBD-I cars may offer blink codes or a built-in self-test, while most modern OBD-II or EOBD vehicles do not have a universal manual readout. In the UK, the engine malfunction indicator lamp is also part of the MOT inspection on petrol vehicles first used on or after 1 July 2003 and diesel vehicles first used on or after 1 July 2008, which tells you how central the system is on later cars.
| Vehicle type | What you can expect | Best move |
|---|---|---|
| Older OBD-I or early manufacturer systems | Some support blink codes, key cycles, or a dashboard self-test | Check the owner's manual or workshop manual before trying anything |
| Cars with a built-in dash menu | May show stored warnings or service messages on the display | Use the menu exactly as the manual describes |
| Most modern OBD-II or EOBD cars | No reliable manual code reading method | Use a scanner or let a garage pull the codes |
The key point is simple: if the handbook does not describe a self-diagnosis mode, I do not assume one exists. That rule keeps people from doing random pin bridges, guessing at flash counts, or creating a second fault while trying to read the first one. Once you know which system your car uses, the retrieval method becomes much easier to follow.
The manual methods that still work on some older cars
There is no universal no-reader trick. The method has to be supported by the car, and the instructions should come from the handbook or a proper service guide. When it does work, the result is usually one of three things: a flash pattern from the warning lamp, a code on the dash display, or a menu that lists stored faults.
Ignition key or trip-button sequences
Some cars enter a diagnostic mode when you cycle the ignition a specific number of times or hold a trip or odometer button while switching on the ignition. If the car supports this, the display may show a fault number, a message, or a test menu. I treat this as a model-specific convenience, not a general rule. One make may use the odometer button, another may use the trip stalk, and a third may not support any of it at all.
Blink codes from the warning lamp
Older systems often use the engine warning lamp itself to transmit the code. You count the flashes, separate the groups by the pause, and write the number down exactly. On some cars, two flash groups represent one code, with the first group giving the tens and the second giving the ones. A pattern like four flashes, pause, then three flashes usually means code 43 on systems that use that format.
The trap is assuming every manufacturer uses the same rhythm. Some use long and short flashes, some repeat the code several times, and some start with a separator flash. If you are not following the exact procedure for that car, the count is easy to get wrong.
Read Also: Slip Indicator Light On? Diagnose It Right!
What not to do
- Do not bridge random pins on a modern 16-pin OBD socket.
- Do not rely on a forum trick unless it is confirmed for your exact model and year.
- Do not clear the light before you have written the code down.
If the car supports one of these manual methods, you can usually get enough information to start a sensible diagnosis. From there, the code itself has to be read properly, which is where most people go wrong.
Read the code as a pattern, not a verdict
I treat every diagnostic trouble code as a clue, not a final answer. The format matters because it tells you where the fault sits. The first letter usually identifies the system, and the rest of the code narrows the area down further.
| Prefix | Usual area | What it tells you |
|---|---|---|
| P | Powertrain | Engine, transmission, ignition, fuel, emissions |
| C | Chassis | Brakes, steering, suspension, ABS-related systems |
| B | Body | Airbags, climate control, lighting, cabin electronics |
| U | Network | Communication faults between modules |
For engine work, the P codes matter most. Generic P0xxx codes are usually the easiest to research, while manufacturer-specific codes need more caution because the same number can have different common causes from one brand to another. That is why I never order parts from the code alone.
| Example code | Common meaning | What I would check first |
|---|---|---|
| P0301 | Cylinder 1 misfire | Spark plug, coil, injector, vacuum leak, compression |
| P0171 | System too lean | Air leak, PCV hose, dirty MAF sensor, fuel delivery |
| P0420 | Catalyst efficiency below threshold | Exhaust leak, misfire history, oxygen sensor data, catalyst condition |
| P0442 | Small EVAP leak | Fuel cap seal, cracked hose, purge valve, canister line |
The code tells me where to start testing, not what to replace. That distinction saves money, because a misfire can be caused by something as simple as a coil, or by something much less obvious, like a vacuum leak that only shows up under load. Once the code and the symptom line up, the next question is which fault pattern you are actually looking at.
Match the code to the symptom before you buy parts
When I do not have live data in front of me, I lean harder on the symptom pattern. That means asking what changed, when it happens, and whether it appears only cold, only hot, or only under acceleration. A code without context is often misleading, especially if the battery has recently been weak or the car has just had work done.
| Symptom pattern | Likely area | Simple first check |
|---|---|---|
| Rough idle, shaking, flashing engine light | Misfire or ignition fault | Plugs, coils, obvious air leaks, damaged connectors |
| Poor fuel economy, hesitation, lean code | Air leak or fuel delivery issue | Intake hoses, PCV system, MAF sensor, fuel cap |
| Fuel smell, EVAP code, light comes and goes after refuelling | Evaporative emissions system | Cap seal, purge valve, cracked vapour lines |
| Multiple odd codes after a flat battery or jump start | Voltage or communication issue | Battery terminals, grounds, charging voltage, fuse box |
This is also where people waste money by chasing the first obvious-looking part. A dirty throttle body, for example, can cause symptoms, but it will not explain every lean code on every car. I prefer to inspect the cheapest likely causes first, then move toward deeper testing if the fault stays active. That approach lines up better with what the warning lamp is actually telling you.
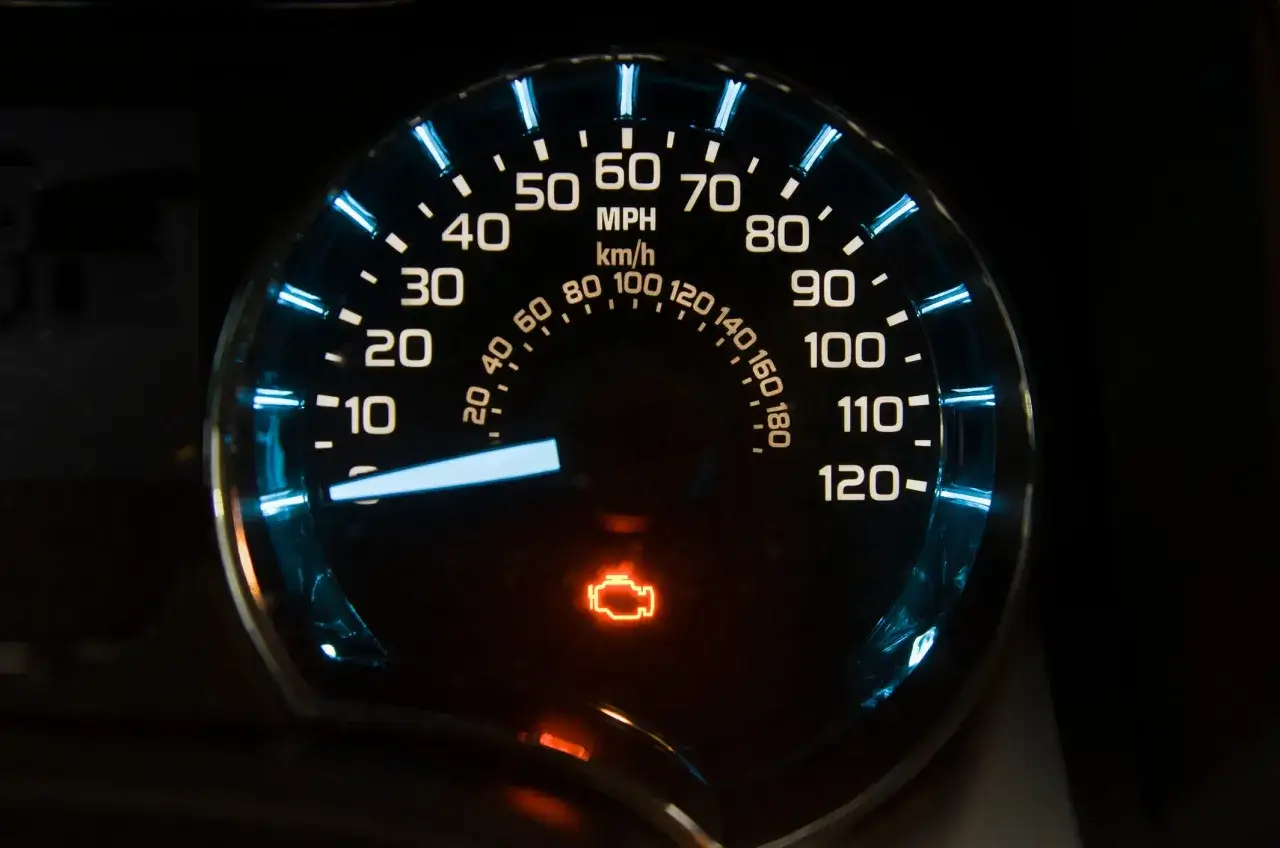
Read the warning light before you read the code
The lamp itself gives you the urgency level. I do not treat every engine warning the same way, because the difference between steady, flashing, and red matters. The AA and RAC both point out that a steady amber engine management light is usually less serious than a flashing one, and a red light is a stop-driving situation.
- Steady amber means the car may still be driveable, but it should be checked soon and driven gently.
- Flashing amber usually means a more serious misfire or catalyst-risk condition, so I would stop as soon as it is safe.
- Red means immediate attention. I would not keep driving to see what happens.
If the car is shaking, losing power, smoking, or smelling strongly of fuel or burning, I trust the symptoms more than the colour alone. In the UK, that matters for the MOT too, because an illuminated MIL on the covered vehicles can be a failure item. Once the lamp crosses into urgent territory, there is no real benefit in hunting for a neat manual workaround.
When the car will not give you a code, pay for the smallest useful test
For most modern cars, there is no honest shortcut around a proper scan. That does not mean you need a dealer-level session every time. In 2026, a basic diagnostic check in the UK commonly sits in the rough range of about £55 to £100, while deeper diagnosis costs more if live data, testing time, or brand-specific software are needed.
| Option | Best for | Typical cost level | What you should ask for |
|---|---|---|---|
| Quick code read | Confirming the fault code and lamp status | Lower end of the range | Exact code, stored or pending status, and a brief interpretation |
| Full diagnostic check | Intermittent faults, multiple codes, repeat failures | Mid range or higher | Code list, test results, and what was ruled out |
| Dealer-level diagnosis | Brand-specific faults and module communication issues | Highest cost | Module scan, software check, and repair path |
When I hand the car over, I want four things back: the exact code, whether it is current or historic, what the technician tested, and what they think should be checked next. If they cannot explain the fault path in plain language, they probably have not diagnosed it deeply enough yet. That is especially important before anyone clears the light, because clearing it too early can hide the trail.
Clear the light only after the fault has been proved and repaired
I do not clear codes just to make the dashboard look tidy. A reset can erase the clues that make an intermittent fault easier to catch, and on later cars some permanent DTCs can survive a battery disconnect anyway. If the repair is real, the light should stay off after a proper road test and the readiness monitors should complete again as the car runs through normal driving.
- Photograph the warning light and note the mileage.
- Write down the code exactly as you found it.
- Repair the likely cause, not just the symptom.
- Road test the car through normal start, idle, cruise, and deceleration conditions.
- Only clear the code once you have a reason to believe the fault is fixed.
That habit matters more than it sounds. If the same light returns after a few drive cycles, you know the original diagnosis was incomplete. If it stays off, you have confirmation that the repair was probably correct. When you cannot get a manual readout at all, the best next step is still a small, proper scan, because a cheap accurate diagnosis is usually better than an expensive guess.