The safest convertible wash protects the roof before anything else
- Wash the roof first, then the bodywork, so dirt does not drip onto freshly cleaned paint.
- Use a dedicated soft-top cleaner for fabric roofs and a gentle shampoo for paint, not one harsh product for everything.
- A two-bucket method helps keep grit out of the mitt and reduces swirl marks on the body.
- Keep pressure low around seams, badges, and window edges, especially on fabric tops and rubber seals.
- Dry thoroughly, then leave the roof up until it is completely dry before folding it away.
- For fabric roofs, a reprotecting treatment once or twice a year keeps water beading and slows down mildew.
Start by identifying the roof material
Before I touch the shampoo, I always identify the roof material. A fabric soft top, a vinyl roof, and a retractable hardtop all need slightly different treatment, and the wrong approach can leave marks long before the paint itself looks dirty. Once you know the roof type, the actual wash becomes much easier to sequence.
| Roof type | Best approach | Avoid | Practical note |
|---|---|---|---|
| Fabric soft top | Specialist cleaner, soft brush, gentle rinse | Pressure washer close to the fabric, all-purpose cleaner, abrasive pads | Clean the seams carefully and reproof once or twice a year |
| Vinyl roof | Mild shampoo or vinyl-safe cleaner, microfibre cloth | Strong solvent cleaners, heavy scrubbing | Easier to wipe clean, but still scratch-prone |
| Retractable hardtop | Normal exterior wash on the panels, careful seal cleaning | Blasting joints and rubber seals | Focus on hinges, gaps, and window surrounds |
If you are unsure, check the owner’s handbook or test a hidden patch first. That small bit of caution is cheaper than repairing a stained roof or a hazed rear window, which is why the washing method itself matters so much.
The wash routine I trust for a convertible exterior
I prefer a top-down wash because dirt from the roof should not run over freshly cleaned paint. On a convertible, that rule saves time as well as finish, especially after a wet week, road salt, or a run under trees.
- Pre-rinse the car with a gentle stream of water to remove loose grit.
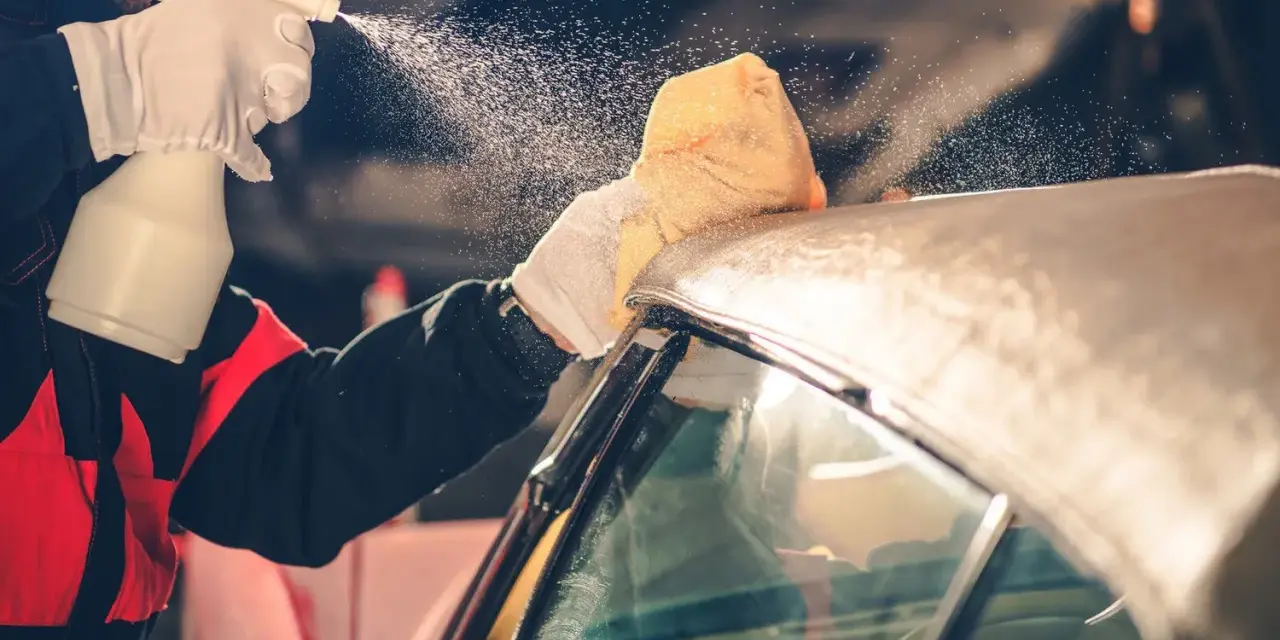
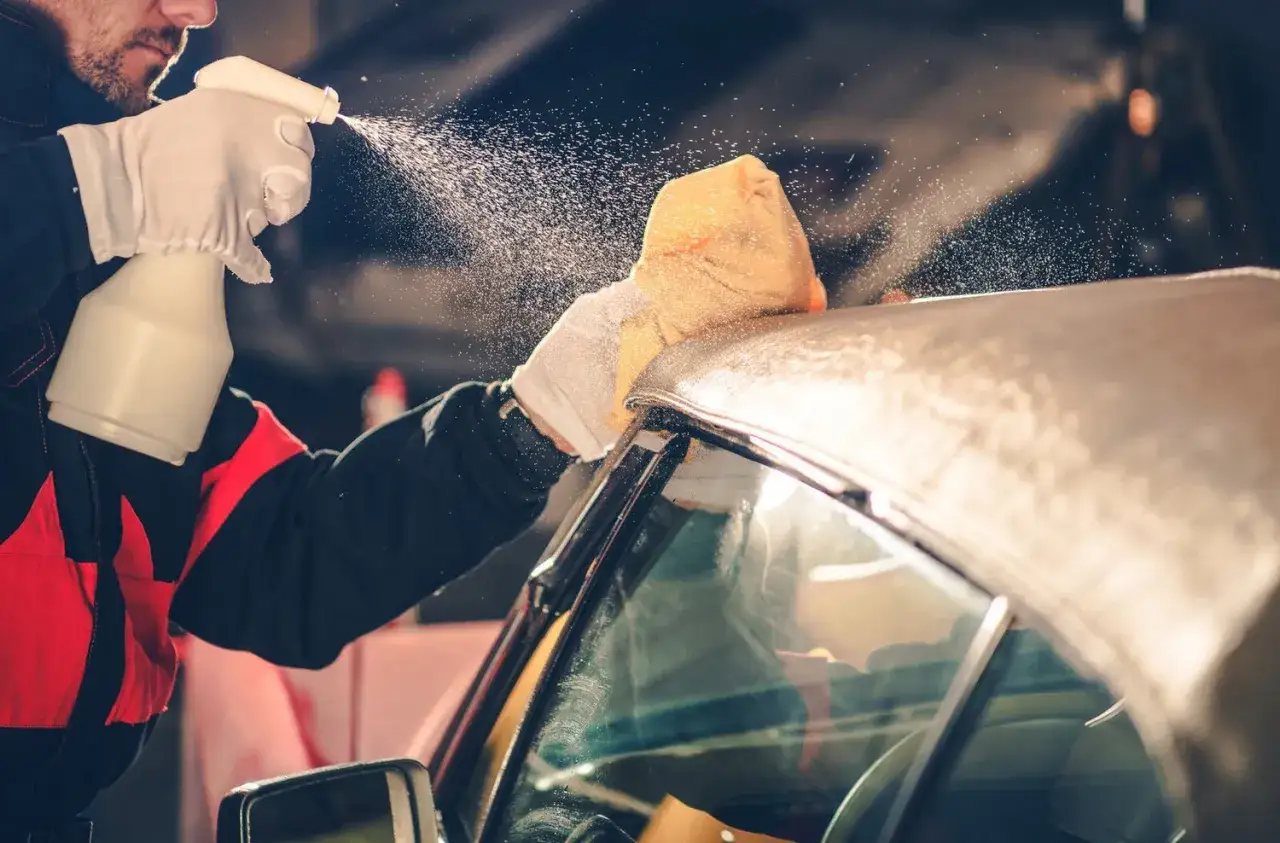
- Clean the roof first if it is fabric or vinyl, using a dedicated soft-top cleaner and a soft brush or sponge. Work in small sections and rinse before the product dries.
- Wash the bodywork with the two-bucket method, which means one bucket of shampoo mix and one bucket of clean rinse water. I use a pH-neutral shampoo for the paint and rinse the mitt after each pass so I am not dragging grit back across the panels.
- Use a separate mitt or cloth for the lower panels. That area picks up the dirtiest road film, so I never take it back to the bonnet or boot lid.
- Rinse everything thoroughly, especially around mirror bases, badges, boot seams, and the hood edges where residue likes to hide.
- Wash the wheels last with separate tools, then do a final rinse so brake dust does not splash back onto the clean body.
If the car is badly contaminated, a snow foam pre-wash can help lift grit before the mitt touches the paint. I still keep it gentle around the roof and seals, because the goal is to loosen dirt, not force water into places it should not go. After that, the detail work shifts to seams, windows, and the edges that trap grime.
Give seams, windows, seals, and trim their own treatment
Convertible detailing gets messy when every surface is treated the same way. The seams, rubber weather seals, glass, plastic rear windows, and painted trim all collect dirt differently, so I break them down rather than rushing across them with one cloth.
- Seams and stitching: agitate lightly along the stitch lines, then rinse patiently. Dirt sits in the thread, not on top of it.
- Rubber seals: wipe them clean, then dry them. I avoid flooding the seals with product because trapped moisture is what encourages grime and mildew.
- Glass rear windows: use a normal glass cleaner and a clean microfibre cloth once the rest of the wash is done.
- Plastic rear windows: use a plastic-safe cleaner and a soft cloth, not an abrasive pad or aggressive polish.
- Badges, vents, and trim: a soft detailing brush helps lift grime without scratching the surrounding paint.
- Drain channels: if you can see leaves or debris, remove them carefully so water keeps moving away from the hood area.
This is also the place where convertibles differ from ordinary cars in a way many owners underestimate. A small amount of residue around a seal or drain can become a bigger issue later, so I slow down here rather than trying to save a minute or two. Once those hidden edges are clean, drying becomes the part that protects the finish.
Dry it properly or you will undo the wash
Drying is where a good wash becomes a proper finish. I use a plush microfibre drying towel on the paint, a separate cloth for glass, and a blotting motion on fabric roofs so I do not scrub water deeper into the weave. If I have an air blower, I use it around mirrors, badges, roof seams, and door handles to chase out trapped water before it turns into spots.
- Leave the roof up until it is completely dry. Folding it away damp is how mildew starts, especially after a thorough clean.
- Apply a protectant to fabric roofs only once the material is clean and dry. That helps water bead and slows down staining.
- Use wax or sealant on the paint, not on the roof fabric. The bodywork and roof should not be treated as one surface.
- Keep an eye on water spotting if your area has hard water. Drying becomes more important than another round of rubbing.
For fabric tops, I usually reproof once or twice a year, or more often if the car lives outside and sees regular rain. In UK weather, damp roads and winter salt make that schedule more important than many owners expect. That cadence is enough for most owners without turning maintenance into a full-time job.
Mistakes that damage convertibles faster than people expect
Most convertible damage I see after a bad wash comes from a short list of avoidable habits. None of them are dramatic on their own, but they stack up fast.
- Using a pressure washer too close to the roof or seals, which can drive water into the fabric or weaken already tired seams.
- Using all-purpose cleaner or traffic film remover on a soft top, which is often harsher than the material needs.
- Washing in direct sun on a hot panel, which makes shampoo dry too quickly and leaves marks.
- Reusing one mitt for the roof, upper panels, and lower panels, which just moves grit around the car.
- Letting a damp roof fold down, which invites odour, staining, and mould.
- Putting automatic brushes against a convertible roof, which is rarely the best choice for fabric, trim, or delicate seals.
There is a common pattern behind every one of those mistakes: people try to wash a convertible like any other car. The roof and seals make the process more sensitive, so the safest routine is the one that keeps pressure low and tools separate.
A simple wash rhythm that keeps the roof and paint in better shape
I find that convertibles stay easier to clean when the wash routine is short and regular rather than occasional and aggressive. Weekly is ideal for cars that live outside, while every one to two weeks is usually enough for garage-kept cars that only see fair-weather use.
- Remove bird droppings, sap, and insect remains the same day whenever possible. Those spots etch paint and stain roof fabric faster than plain road dust.
- Give the roof a deeper clean and reproof once or twice a year, depending on exposure to rain, trees, and mileage.
- Inspect the seals and drains as part of the wash, not as a separate chore you keep postponing.
- Keep a dedicated soft-top kit in the boot if the car is used often. A brush, cleaner, microfibres, and protectant make the job much easier when you can reach for them quickly.
Once that routine becomes habitual, the convertible stops feeling delicate and starts feeling manageable, which is exactly how I like it.