Using a pressure washer on a car can save time, but only if you treat the jet as a rinse rather than a weapon. This guide explains how to power wash a car safely, what settings and attachments actually matter, and where the risk starts for paint, trim, badges, and seals. I’m keeping it practical and exterior-focused, so you can clean the car properly without creating a repair job.
The essentials for a safe pressure-wash clean
- Start with the lowest effective pressure, a fan jet, and a working distance of about 30 cm.
- Remove loose grit by hand first so you are not blasting stones into the paint.
- Use proper car shampoo or foam, not household detergent, and do not let it dry on the panel.
- Work in shade or during cooler parts of the day, especially on hot paint or in winter frost.
- Avoid rotary and pencil jets on bodywork, and keep clear of rubber seals, badges, cameras, and tyre valves.
- Dry the car fully after rinsing, then add protection if you want the finish to last longer.
How to power wash a car without damaging paint
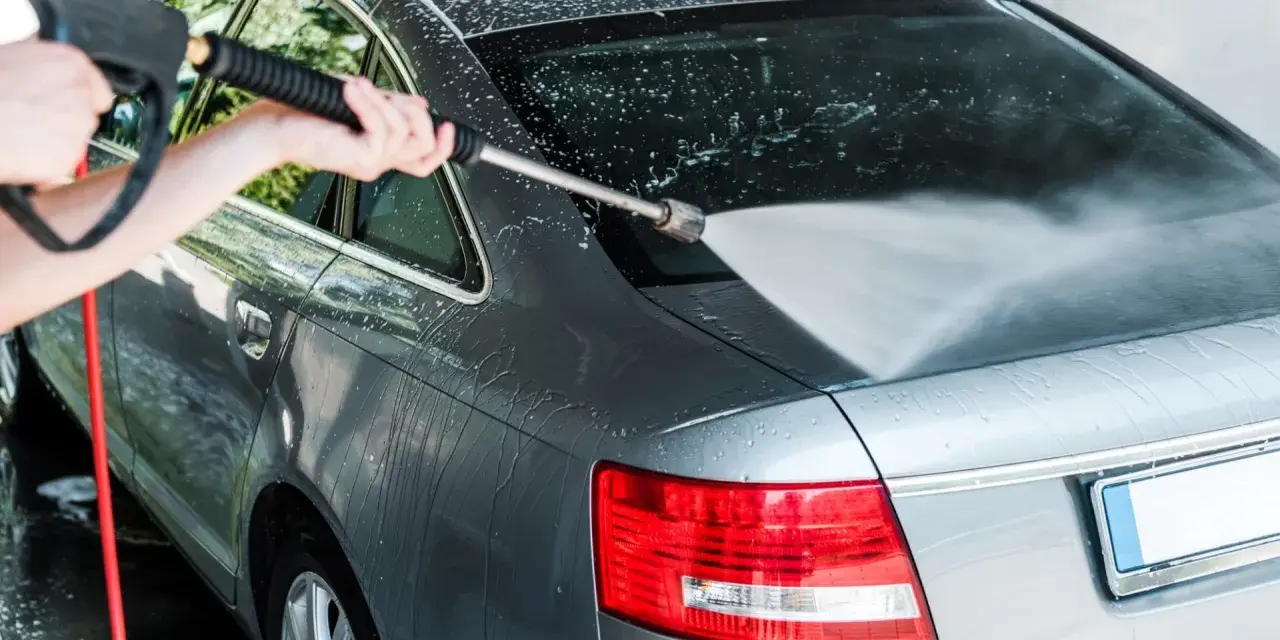
The rule I follow is simple: the washer should lift loose dirt, not force water through the finish. Start with a fan or flat jet, keep the lance at least 30 cm from the bodywork, and hold it at a shallow angle rather than firing straight at the panel. That matters because a direct hit at close range is what turns a useful tool into a paint-stripping one.
I also start low and only increase pressure if the grime genuinely needs it. For paintwork, more force is rarely the answer. If the jet starts to sound harsh, if the panel looks like it is being hammered, or if you need to keep moving closer to get results, stop and reset. The goal is a controlled rinse, not a high-pressure chase.
- Remove loose leaves, twigs, and heavy grit by hand first.
- Rinse from a distance, working from the roof down.
- Apply shampoo or foam only after the worst dirt has been lifted.
- Let the cleaning product dwell for a few minutes, but never until it dries.
- Rinse again with the fan jet and finish with a clean drying towel.
Once that basic sequence is in place, the next decision is the kit you use, because the right attachments make the job easier and safer.
The kit that actually matters
You do not need a huge machine to clean a car well. What you do need is control, especially on bodywork and around delicate trim. A pressure washer with variable output is far more useful than a fixed blast, and the nozzle matters just as much as the headline power.
| Item | Why it matters | What I would choose |
|---|---|---|
| Adjustable pressure washer | Lets you reduce force on paint and increase it only where needed | A model with a low setting and steady trigger control |
| Fan or flat jet nozzle | Spreads the water into a wider, safer pattern for exterior panels | Use this on paintwork and glass |
| Rotary or pencil jet | Focuses the stream into a much harsher spot | Keep it away from paint, badges, seals, and plastics |
| Foam lance or detergent mode | Helps loosen traffic film before any contact cleaning | Useful, but only with car shampoo |
| Microfibre drying towel | Prevents water spots and reduces the risk of towel marks | A large, clean, lint-free towel |
| Wheel brush or soft detailing brush | Reaches brake dust and grime without leaning on the paint | Soft bristles, separate from your paint wash tools |
I avoid washing-up liquid at this stage because it can strip wax and leave the finish less protected than before. A proper car shampoo is duller to talk about, but it is the right tool for the job. Once the kit is sorted, the wash itself becomes a lot easier to control.
A wash routine that keeps dirt moving off the car
When I want a clean result rather than just a wet one, I work in a sequence that keeps dirt moving away from the paint instead of dragging it back across it. I usually deal with the wheels and arches first if the car is heavily soiled, because brake dust and road grime are the dirtiest contamination on the vehicle. If the body has a thick layer of loose grit, I give it a light pre-rinse first so nothing sharp is left sitting on the panels.
- Work in shade or on a cool surface so shampoo does not flash-dry.
- Rinse the roof, glass, bonnet, and upper doors before working lower down.
- Use foam or shampoo from top to bottom and leave it on for a few minutes only.
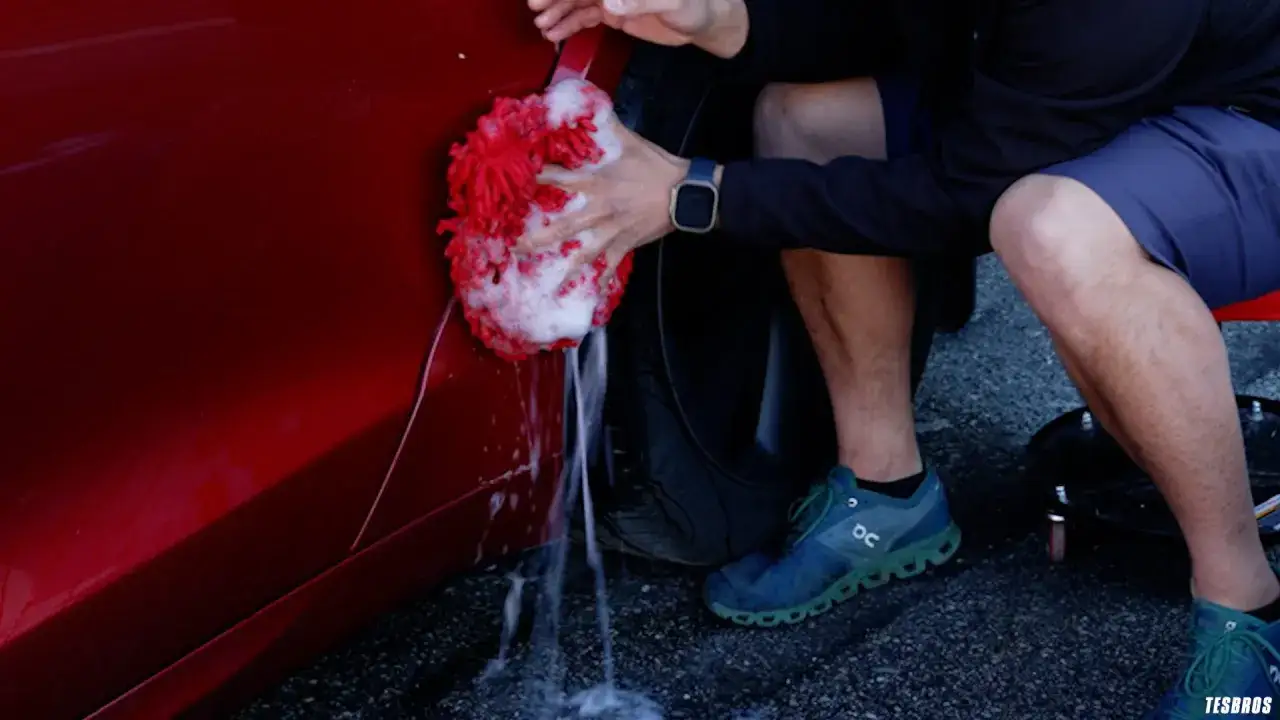
- Agitate stubborn spots gently with a soft brush or wash mitt, not with more pressure.
- Rinse thoroughly so no residue sits in panel gaps, mirror housings, or badges.
- Dry straight away with a clean microfibre towel or drying cloth.
The rhythm matters here. I tend to think of the pressure washer as the first pass, the shampoo as the loosening stage, and the towel as the step that turns the wash into a proper finish. If you skip the drying stage, water spots and streaks will erase a lot of the work you just did.
Where the pressure washer can do real damage
Most car damage from pressure washing happens because the jet is too close, too concentrated, or pointed at the wrong part of the vehicle. Paint edges are vulnerable because the lacquer is thinner there. Loose badges, old vinyl, and tired seals are vulnerable because water gets underneath and starts lifting them. Once you notice that a trim piece is already loose or brittle, I would not aim a high-pressure jet at it.
- Badges and lettering can lift at the edges.
- Rubber door seals can be forced open and leave wet streaks inside the door card.
- Tyre valves and tyre sidewalls do not need a direct blast.
- Parking sensors, cameras, grille inserts, and front radar areas should be rinsed gently.
- Convertible roof seams, decals, and repaired paint deserve extra caution.
- Engine bays and electrical components are not routine pressure-wash areas.
There is a good shortcut for deciding where to be careful: if a part is thin, soft, glued on, already peeling, or made to move, assume the jet can hurt it. That brings us to the conditions around the wash, which matter more than most people expect.
When the weather and location work against you
In the UK, weather changes the result almost as much as technique. Strong sun dries shampoo too quickly and leaves marks, so I prefer early morning, late afternoon, or a shaded driveway. In freezing conditions, I avoid washing altogether unless the car is dry enough to prevent ice forming around locks, seals, and handles. Hot panels and cold water are also a bad mix, because thermal shock is not kind to paint or trim.
Runoff is another practical issue. If you are washing on a driveway or shared surface, make sure dirty water is not being sent where it should not go, especially into drains or across pavements. I also think winter salt changes the order of the job: you need a stronger pre-rinse, but not a stronger attack. Let the grit release first, then wash the car, rather than trying to strip everything off in one pass.
That keeps the process cleaner, safer, and more predictable, which is exactly what you want before you focus on the final finish.
The small habits that make pressure washing worth it
The best-looking cars are not usually cleaned with the highest pressure. They are cleaned with restraint, the right angle, and enough distance to let the water do its work without attacking the surface. If you remember nothing else, remember this: use a fan jet, start low, keep at least 30 cm from the bodywork, and never let cleaning product dry on the car.
After the rinse, dry the car properly and, if you want the finish to stay cleaner for longer, add wax or sealant once the panels are dry. That is where the real difference shows up in day-to-day use, because the next wash becomes easier, road film releases faster, and the paint keeps its gloss instead of looking tired after the first wet week.
If you are doing this regularly, the smart habit is not more pressure. It is better control, better drying, and a cleaner sequence every time.