The fastest safe route to cleaner paint and a better finish
- Wash, dry, and decontaminate the panel before the compound ever touches the paint.
- Use a small amount on a clean microfibre cloth or soft applicator pad.
- Work one small section at a time with controlled pressure, not long aggressive passes.
- Wipe residue fully, inspect the result, and repeat only where the defect still shows.
- Finish with wax or a sealant, because compound restores the paint but does not protect it.
- If a scratch catches a fingernail, the damage is probably deeper than this product can fully solve.
What this compound is meant to fix
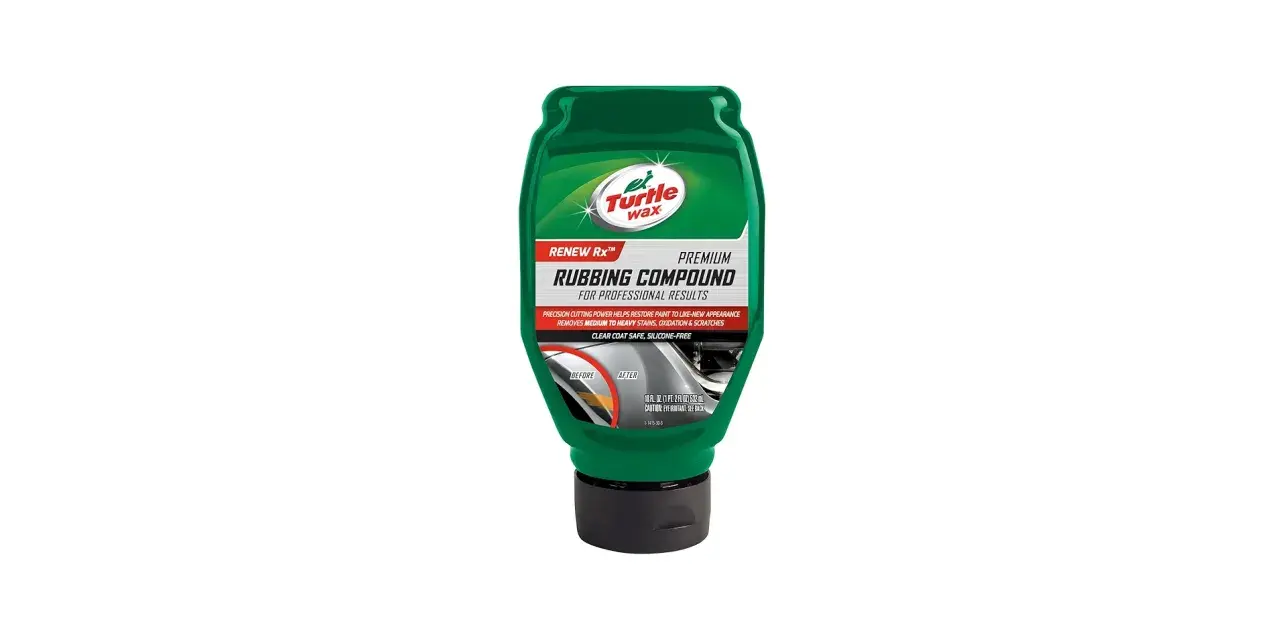
Turtle Wax rubbing compound is a correction product, not a finishing product. I reach for it when paint has lost clarity from oxidation, light swirls, paint transfer, or stubborn marks that washing and quick detailing will not shift. It works by removing a very thin layer of the affected surface so the damaged, dull, or contaminated top layer is taken away.
That also means it has a limit. If the mark is a true chip, a deep gouge, or a scratch that goes through the clear coat and into colour or primer, compounding may improve its appearance but will not erase it. In plain terms, this is the tool for dullness and moderate surface defects, not for structural paint damage.| Product | Main job | Best for | Not the right choice for |
|---|---|---|---|
| Rubbing compound | More aggressive paint correction | Oxidation, transfer marks, light scratches, swirl marks | Deep chips, heavy sanding marks, damaged clear coat |
| Polish | Refining and glossing | Finishing after compounding, light haze, extra clarity | Serious defects that need stronger cut |
| Wax or sealant | Protection and shine | Locking in the corrected finish | Removing scratches or oxidation |
My simple rule is this: if the paint looks tired, cloudy, or scuffed but still has intact clear coat, compound may help. If the damage is physical and obvious from every angle, I treat the compound as only one step in the repair, not the whole answer. That difference matters before you start, because it keeps expectations realistic and saves a lot of wasted effort.
Prepare the panel before you start
Turtle Wax’s own directions begin with a washed, dry car for a reason. Any grit left on the paint can be dragged around while you work, which turns a correction job into a scratching job. I like to use a cool panel, shade, and a dry surface, because UK weather can change fast and a warm bonnet or door skin makes compound grab too quickly.
- Wash the car thoroughly and dry it fully.
- If the paint still feels rough, use a clay bar or a detailing spray to lift bonded contamination.
- Keep a clean microfibre cloth ready for application and another one for removal.
- Mask delicate trim if it sits close to the area you are correcting.
- Work only when the panel is cool to the touch, ideally in shade or indoors.
I also check the defect under strong light before I start. A swirl that shows only in direct sun is usually a better candidate than a scratch you can feel with a fingernail. The clearer that decision is at the start, the less likely you are to overwork the paint trying to force a result it cannot give.
Apply it by hand in small, controlled passes
For hand application, I use only a small amount of product, roughly a pea to 5p-piece sized dab. More compound does not mean more cut; it usually means more residue and less control. Put the product onto a clean microfibre cloth or soft applicator pad, then work it into the paint using short, overlapping passes rather than fast random rubbing.
- Apply a small amount of compound to the cloth or pad.
- Spread it lightly over a small section of paint, about 30 to 40 cm square.
- Use moderate pressure and keep the movement steady and controlled.
- Continue until the residue thins out and the defect looks improved.
- Stop before the panel dries out completely or the product starts to dust heavily.
I prefer to treat each section like a separate correction job. That makes it easier to see whether the compound is actually improving the finish or just creating more haze. If I need more cut, I reapply a little product and repeat the pass rather than pressing harder. Heavy pressure is rarely the answer; it just increases the risk of uneven correction and a tired-looking finish.
Do not apply it in direct sunlight or on a surface that is hot to the touch. On a warm panel, compound can flash too quickly, become difficult to wipe, and leave you with patchy results. A cool, dry day is far easier to work with, and honestly more pleasant when you are doing exterior care by hand.Check the finish and repeat only where needed
Once the residue is on the surface, wipe it away with a clean microfibre cloth and inspect the panel from different angles. I like to look at the paint in indirect daylight and then again under a torch or workshop light, because some defects disappear from one angle but remain obvious from another. That second look is what tells you whether the area is genuinely corrected or only temporarily masked by residue.
- If the mark has softened or vanished, stop and protect the area.
- If the defect is still visible but improved, repeat the process once more on that spot.
- If the panel turns hazy but the scratch barely changes, the paint probably needs a finer finishing step or a different approach.
- If the scratch still catches strongly after a couple of light rounds, I stop there and reassess rather than grinding away at the clear coat.
That last point matters more than people think. Compounding should remove defects efficiently, not become an endurance test. If you have already improved the panel and you are only chasing tiny leftovers, the honest move is to decide whether the remaining mark is acceptable for a daily driver. Not every defect deserves the same amount of attention.
Protect the correction before the weather takes it back
After the finish is corrected and residue-free, I always follow with wax or a sealant. The compound has done the cleaning and levelling work, but it has not left behind durable protection. A wax layer gives the panel a cleaner look, helps water sheet or bead more evenly, and slows down the return of that flat, dull appearance.
For a UK car, that follow-up matters. Rain, road film, salt, and winter grime can undo the visual improvement faster than people expect. You do not need a complicated ceramic routine if that is not what you want; even a straightforward spray wax is better than leaving freshly corrected paint naked. The important part is to protect the surface while the clarity is still fresh.
If the paint is already in good shape after compounding, I move straight to protection once the panel is clean and dry. There is no benefit in waiting around for some imaginary extra cure time unless the product label tells you otherwise. The goal is to seal in the improvement, not to sit on it and hope it lasts on its own.
The mistakes I see most often
Most poor results come from technique, not from the product itself. A rubbing compound can do good work, but it will not rescue sloppy preparation or aggressive habits. These are the errors that waste time and leave the paint looking worse than it should.
- Using too much product, which leaves heavy residue and reduces control.
- Working a panel that is dirty, gritty, or only half-dried.
- Trying to correct too large an area at once.
- Rubbing a hot panel in direct sun, which makes the compound hard to manage.
- Using one dirty cloth for both application and removal.
- Pressing hard in the hope of forcing a deeper correction.
- Skipping wax after the correction is finished.
- Letting compound sit on textured plastic trim, where it can stain or leave white residue.
One more reality check: if a scratch is deep enough to catch your fingernail clearly, I do not expect a hand-applied compound to make it disappear. It may improve the look, especially if the edges are hazy or oxidised, but that is different from full removal. Knowing where the line is keeps the job honest and stops you from damaging the clear coat in pursuit of a perfect result.
The rule I use on a real daily driver
On an average car, I treat rubbing compound as a careful correction step, not a rescue mission. If the panel comes back clearer, the haze drops, and the finish feels clean after wiping, I stop, protect it, and move on. That is usually the best result for a car that is driven every day rather than stored like a showpiece.
If the paint is heavily oxidised, the defect is widespread, or the scratch is still obvious after a couple of light attempts, I change approach instead of pushing harder. Sometimes the next step is a finer polish; sometimes the honest answer is that the damage is beyond what a hand compound can sensibly fix. That judgement call is what keeps exterior detailing useful instead of destructive, and it is the difference between a quick improvement and a finish you actually want to live with.