A scratch on a car is one of those faults that looks small until you inspect it in daylight. If it stays in the clear coat, a careful polish may be enough; once it reaches the base coat, primer, or metal, the repair becomes a different job entirely. In this guide I’ll show you how to judge the damage, what you can realistically fix at home, when to use a smart repair or body shop, what it usually costs in the UK, and how to keep the paint protected afterwards.
The right fix depends on how deep the damage goes
- Wash and dry first so grit does not get dragged across the paint while you inspect it.
- Clear-coat marks are often polishable; if colour is missing, you are usually past DIY territory.
- SMART repair is usually the sweet spot for single-panel damage that needs colour matching but not a full respray.
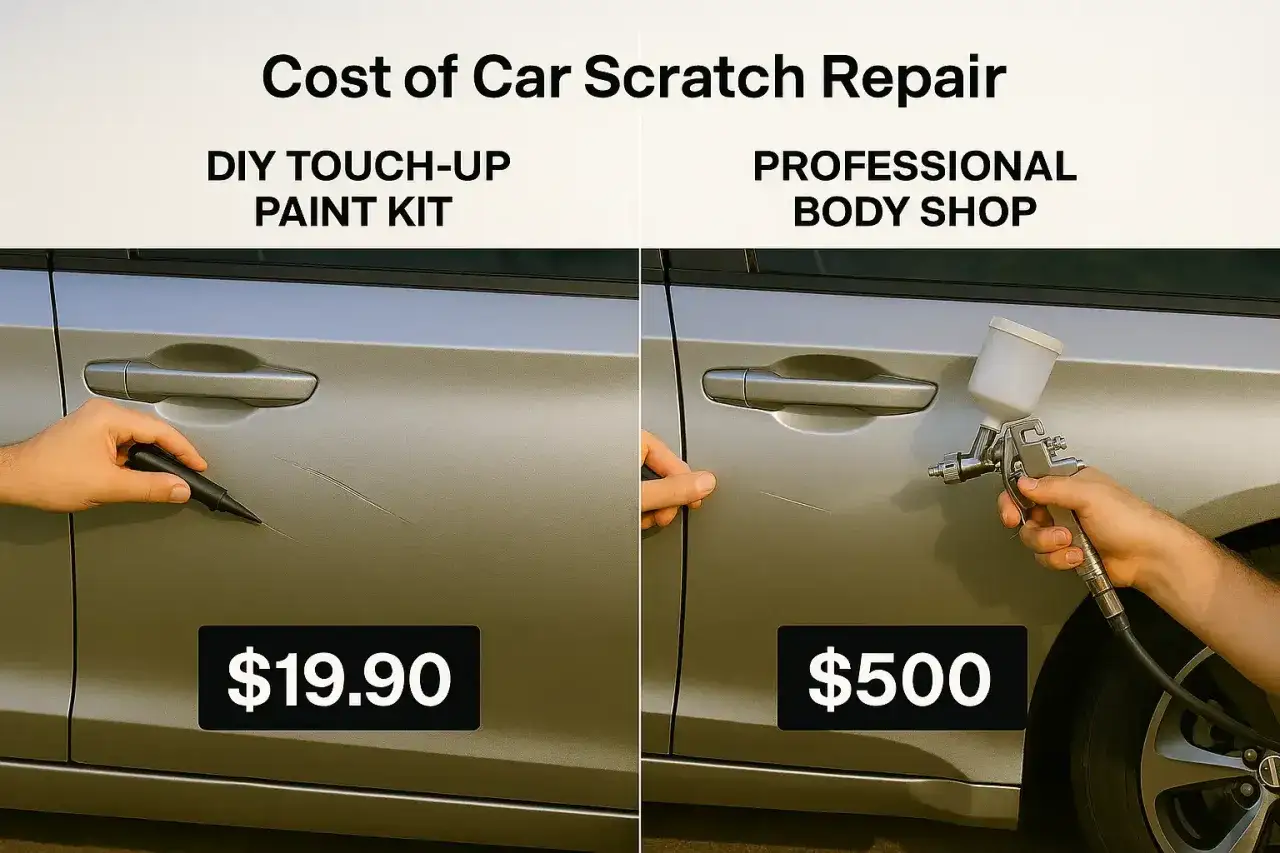
- UK costs typically range from about £10-£50 for DIY products to £80-£300 for many professional scratch repairs.
- Insurance only makes sense when the repair bill is comfortably above your excess or the damage is part of a bigger claim.
- Lease cars need an early check against fair wear and tear rules, not a last-minute guess before handback.
How to tell how deep the damage goes
I always start by judging the layer that has actually been damaged, not just the visual length of the mark. Modern paint systems usually have a clear coat on top, then the colour layer, then primer, with metal underneath. A shallow mark can look dramatic in the wrong light, while a deeper one may seem harmless until you run a fingertip across it.
If you inspect the panel from the side in strong daylight, you can usually separate a light surface scuff from a proper cut in the paint. A faint haze or swirl pattern is often just clear-coat damage. A white line with no colour loss usually needs more than a simple cleaner, and any exposed primer or bare metal changes the job completely because corrosion becomes a risk.
| What you see | Likely depth | What it usually means |
|---|---|---|
| Haze, fine swirls, or a dull patch under light | Clear coat only | A finishing polish may be enough |
| Visible line, but no colour missing | Light clear-coat damage or a shallow cut | Try a mild compound before anything harsher |
| White or grey line where paint colour has disappeared | Base coat exposed | Touch-up paint or SMART repair is more realistic |
| Primer, bare metal, or rust showing | Deep damage | Stop rubbing and plan a proper repair quickly |
| Scratch on a body line, edge, or curved panel | Harder to blend | Best handled professionally |
That first diagnosis matters because it prevents the most common mistake I see: people spending time and money on products that cannot reach the layer that is actually damaged. Once you know what you are dealing with, the repair choice becomes much easier.
What I would try first at home
For a shallow scratch, I would always begin with the least aggressive option that still has a real chance of working. Clean the area thoroughly with car shampoo, rinse it well, and dry it with a clean microfibre towel. If there is embedded grit, use a clay bar or a proper decontamination step before any polishing. That is not just tidier work; it stops you grinding dirt into the finish.For a clear-coat mark, a fine finishing polish or dedicated scratch remover is the first product I reach for. Work a small section at a time, use light pressure, and check the result before repeating. If the mark improves but does not disappear, do not keep attacking it with more force. At that point, you are usually better off stopping and reassessing rather than turning a small defect into a larger dull patch.
Touch-up paint only makes sense when colour has genuinely been removed. I would match the paint code first, then apply thin layers and let each one settle before deciding whether another pass is needed. This is slower than people expect, but thick blobs of touch-up paint look worse than the original scratch.
- Use a foam applicator or microfibre pad for polishing, not a rough cloth.
- Avoid aggressive sanding unless you know exactly how much clear coat you have left.
- Skip household hacks like random abrasive paste on anything more than the faintest mark.
- Finish with wax or sealant once the repair has cured, so the area is protected again.
If the scratch still catches your eye after a careful polish, it is time to think in terms of a proper repair rather than another bottle of product. That is where the next decision starts to matter.
When a smart repair or body shop makes more sense
SMART repair, or Small to Medium Area Repair Technology, is the middle ground I recommend most often for paint damage. It focuses on the damaged section instead of repainting an entire panel, so it can be quicker and cheaper while still looking professional. The catch is that it works best when the damage is localised and the surrounding paint is in good condition.
| Option | Best for | Typical turnaround | Trade-off |
|---|---|---|---|
| DIY polish or kit | Very light clear-coat marks | 30 to 90 minutes | Cheap, but easy to overdo or leave haze |
| SMART repair | Single-panel scratches, bumper scuffs, keyed marks | A few hours | Good balance of cost and finish, but not ideal for large damaged areas |
| Body shop respray | Deep scratches, rust, or damage across several panels | 1 to 5 days | Best finish, highest cost |
I move away from DIY and into professional repair when the scratch crosses a panel edge, sits on a bumper curve, or has removed enough paint that the colour coat is visibly broken. Metallic, pearl, and tri-coat finishes are also less forgiving because blending them well takes more control than most home kits can offer. If there is a dent as well as the scratch, the case for a professional job gets stronger immediately.
My rule is simple: if the paint is missing rather than merely dulled, I stop pretending a polish will sort it out. The only remaining question is whether the job is financially worth doing now or later.
What a repair usually costs in the UK
In 2026, I would budget based on depth, panel size, and paint complexity rather than assuming one scratch has one price. The same-looking mark can be cheap on one car and noticeably more expensive on another if the colour is difficult to match or the panel is awkward to blend.
| Repair route | Typical UK cost | When I’d use it |
|---|---|---|
| DIY products | £10-£50 | Minor clear-coat marks and very light scuffs |
| Polish-out by a detailer | £60-£150 | Shallow scratches that need correction, not repainting |
| SMART repair | £80-£300 per panel | Localised scratches that need colour matching and blending |
| Full panel respray | £200-£600+ per panel | Deep damage, rust, or cases where blending would look obvious |
Those numbers are rough guide prices, but they are useful because they show the shape of the market. Once you move from polishing to repainting, labour and colour matching do most of the price inflation. If a quote lands close to the lower end of a panel respray, I usually ask whether a smarter localised repair is possible before committing.
It also helps to get photos in good daylight and ask for an in-person estimate if the scratch looks deep. That way you are comparing like with like instead of guessing from a single picture. Cost is not the only factor, though, because insurance and lease rules can change the right decision.
Insurance, leasing and resale value
For insurance, I always compare the repair quote with the policy excess first. If the fix is only a little above the excess, claiming can be poor value once you factor in possible premium increases and the risk to your no-claims discount. A cosmetic scratch is often cheaper to settle privately unless the damage is part of a larger claim or the car has been vandalised.
If the scratch looks deliberate, photograph it before you touch anything and consider reporting it. That gives you evidence if the insurer asks for it later. On the other hand, if the damage came from a car park scuff or a narrow garage scrape, the practical question is usually simpler: can you repair it well enough to protect the car’s value without overspending?
Lease cars need even more discipline. I would check the return standard early, not in the final week. The BVRLA advises appraising the vehicle about 10 to 12 weeks before handback, which gives you time to fix anything outside fair wear and tear instead of paying end-of-lease charges. Clean the car properly before you inspect it, because dirt can hide defects and make the wrong issue look bigger than it is.
For resale, the point is not perfection. It is whether the repair will look better than the damage from normal viewing distance. A neat SMART repair usually helps value far more than a visible scratch, while a poorly matched repair can do the opposite. That is why the finance side of this problem matters just as much as the paintwork itself.
How to stop the next mark from happening
Once the panel is fixed, I treat prevention as part of the repair. A good finish can be undone quickly by poor washing habits, tight parking, or a brush wash that grinds grit back into the paint. This is especially true on soft finishes and darker colours, where marring shows up fast.

- Wash carefully with a proper shampoo, a clean wash mitt, and a separate rinse bucket if possible.
- Dry with microfibre, not an old towel that can drag grit across the surface.
- Use wax or sealant every couple of months if you want easier cleaning and a bit more sacrificial protection.
- Consider ceramic coating for easier maintenance, but do not expect it to stop a deep key mark.
- Think about PPF on high-impact areas such as the bonnet edge, mirrors, bumper tops, and door handles if the car is new or expensive.
- Park strategically away from hedges, tight pillars, and badly aligned car park spaces.
Paint Protection Film is the real heavy-duty option here. RAC notes that it is a clear urethane film designed to protect paint from scratches, chips, and road debris, and pricing can start around £1,000 and rise well beyond £5,000 depending on coverage and vehicle. That makes sense for some owners, but it is overkill for many daily drivers. I see it as a targeted investment, not a universal fix.
The useful distinction is this: waxes and sealants make cleaning easier, while PPF is there to take the hit. If you keep that in mind, you will choose the right protection instead of expecting one product to do everything.The finishing checks that make the repair feel invisible
When the repair is done, I check it in daylight from two angles: straight on and from the side. That is the quickest way to spot a patchy blend, a sanding mark, or a slight ridge at the edge of the repair. Fresh paint can look acceptable under workshop lights and reveal flaws the moment it goes outside.
I also pay attention to curing time. Fresh paint should not be rushed into heavy polishing or waxing, and many repairers recommend leaving it alone for several days before applying protective products. If the repairer gives you a specific aftercare window, follow that rather than guessing.
The best scratch repair is not the cheapest one or the biggest one. It is the one that removes the damage, seals the panel properly, and leaves the car looking consistent from every normal viewing angle. If you keep that standard in mind, you will make better calls on DIY fixes, professional repairs, and the point where it simply makes sense to stop and let a specialist handle it.